
It’s over when it’s over
Recipe for Maangchi’s Cheese Buldak (Fire Chicken)
Unlike what you see on the TV show Fixer Upper, an actual home is never done–it is forever a work in progress. There is always something that needs fixing or tweaking, day after day, month after month, year after year. But the time has come to wrap up this Fair Haven Fixer Upper blog and get back to showcasing all the wonderful Two River homes we’ve been lucky enough to help decorate this year.
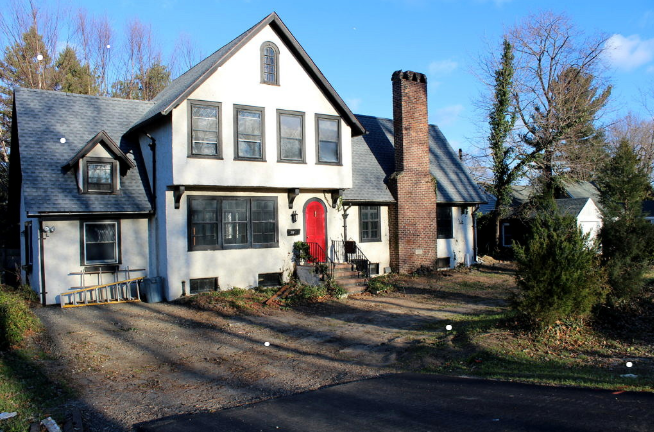
Chip and Joanna always start the reveal with a before–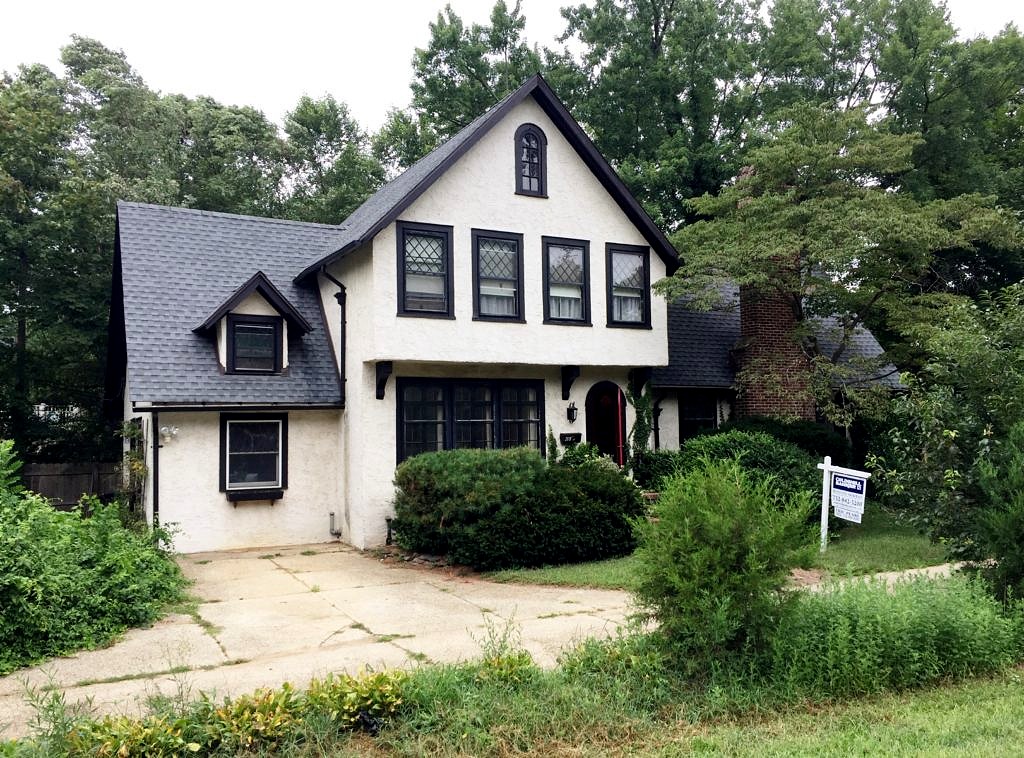 And then an after shot:
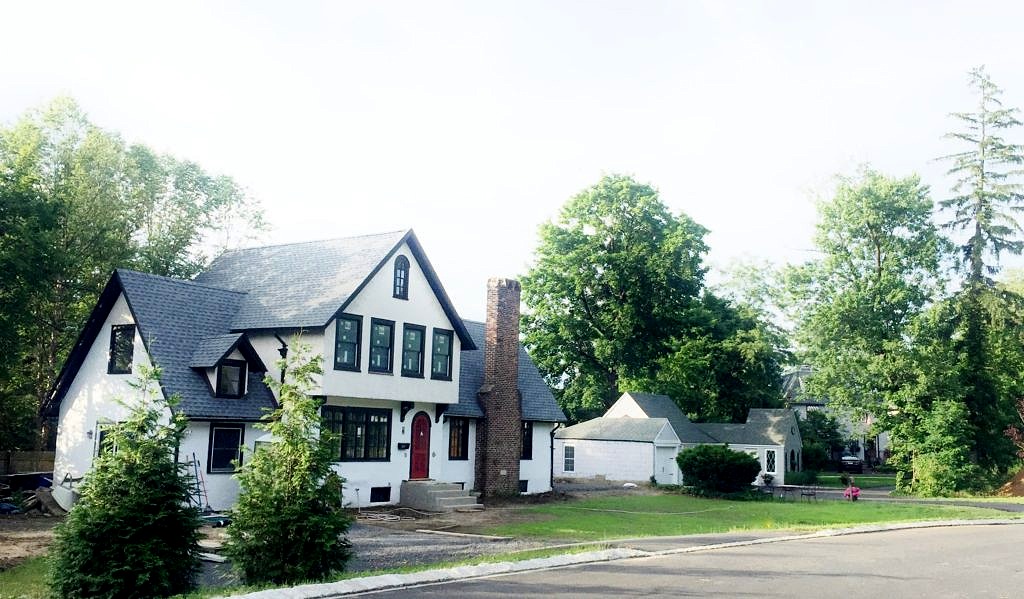
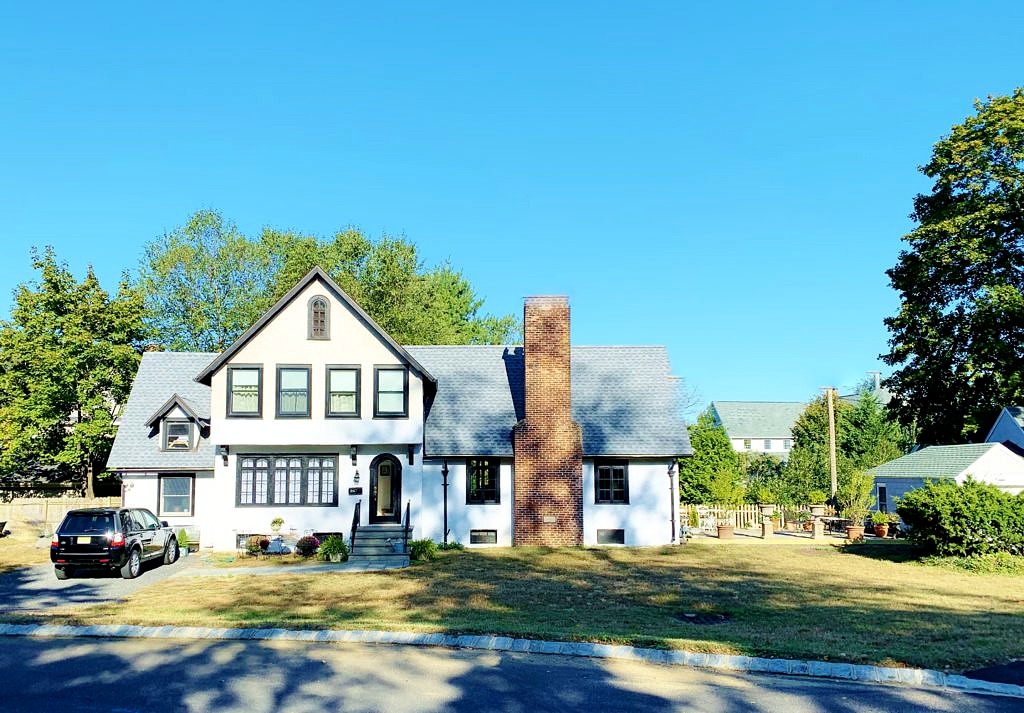 While we have yet to do much landscaping you can see we made some big changes to the property. The old driveway was demolished; it was a shared driveway from the main road for three homes and we were the guys in the middle. Now there is direct access to the new street in front of the house. That, combined with the removal of the monster maple tree growing into the basement, and all the overgrown shrubbery along with the rotten deck, really opened up the yard.


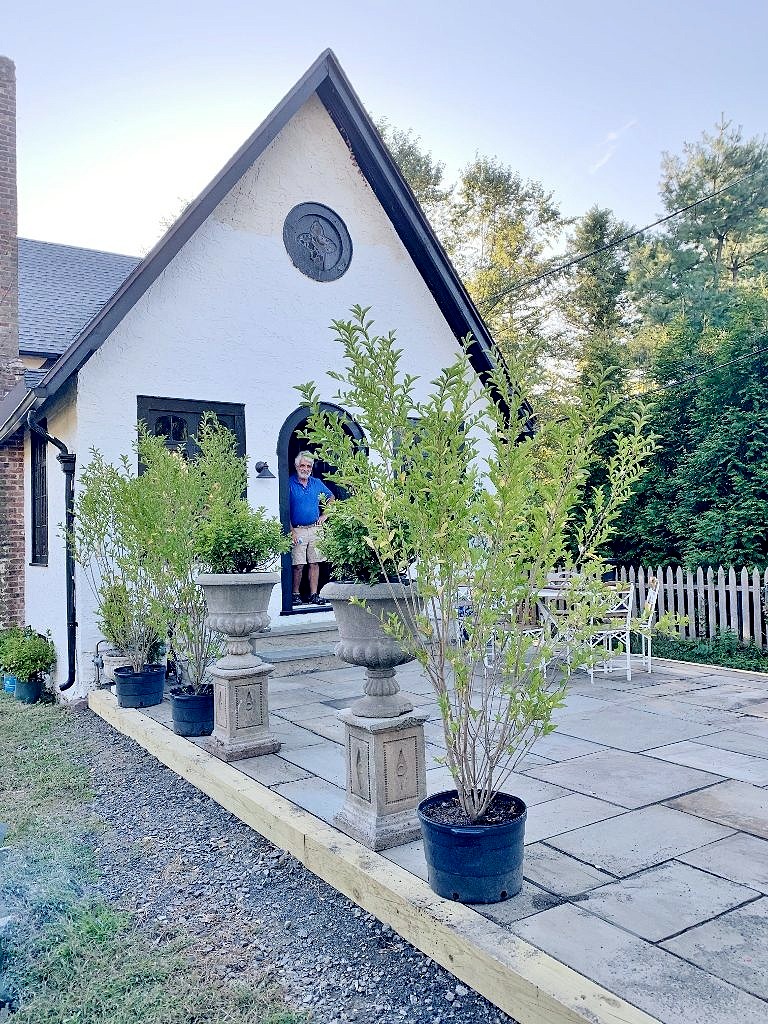
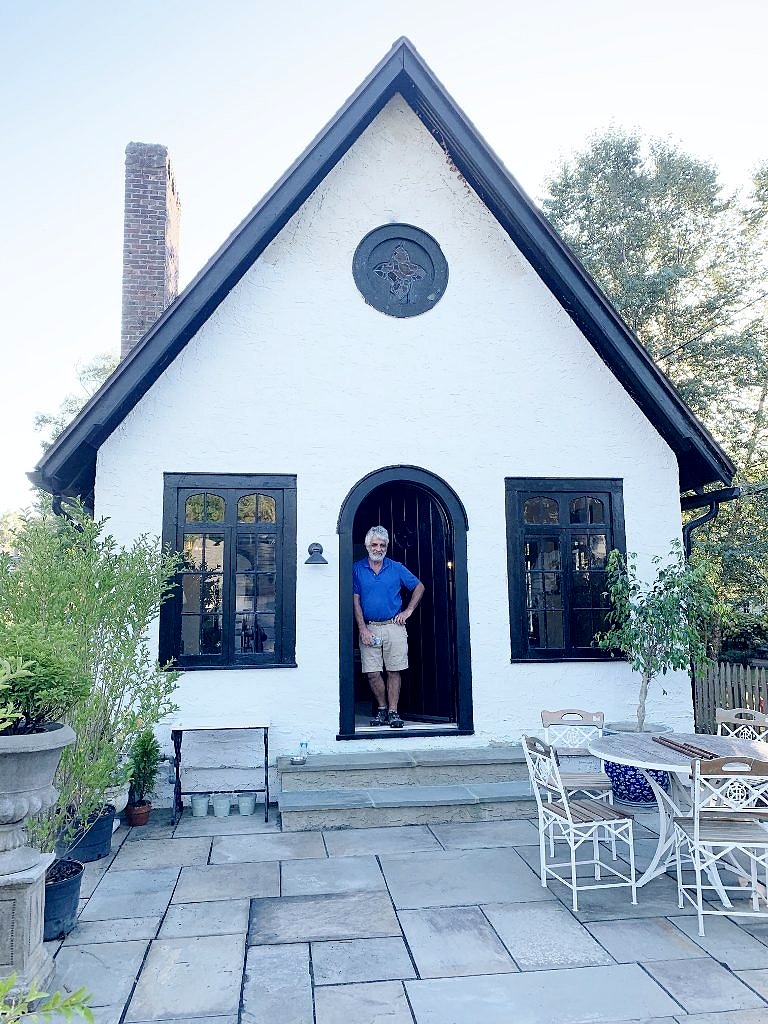 Here is Keith admiring the large bluestone patio that Mike Papa, our mason from heaven made us. Mike painstakingly handpicked every stone and then arranged it all just so. I was like hurry up already, but there is no rushing Mike. Fortunately it is lovely and just what we wanted after six years of living in an upstairs apartment–a nice wide open space to wine and dine and relax–outside.
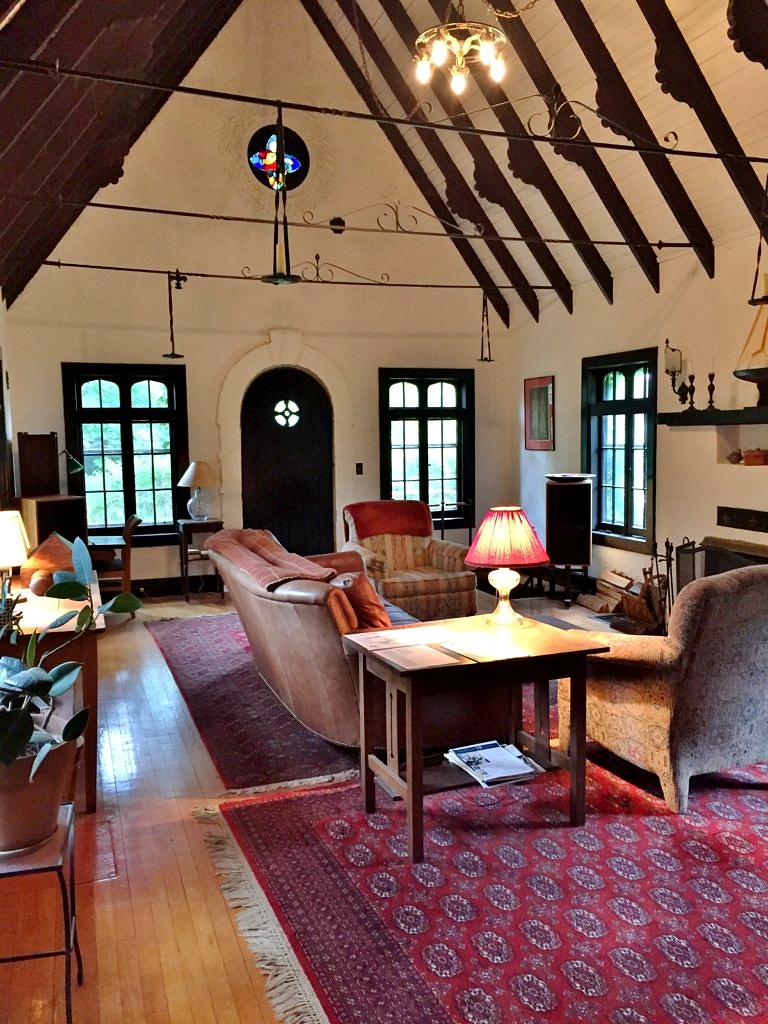
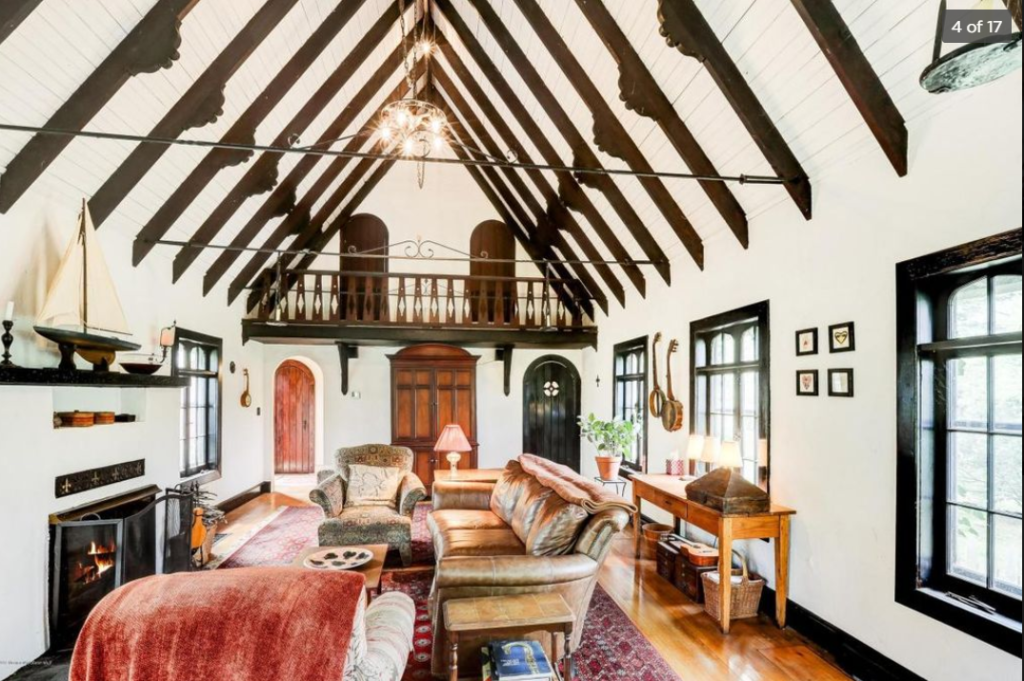
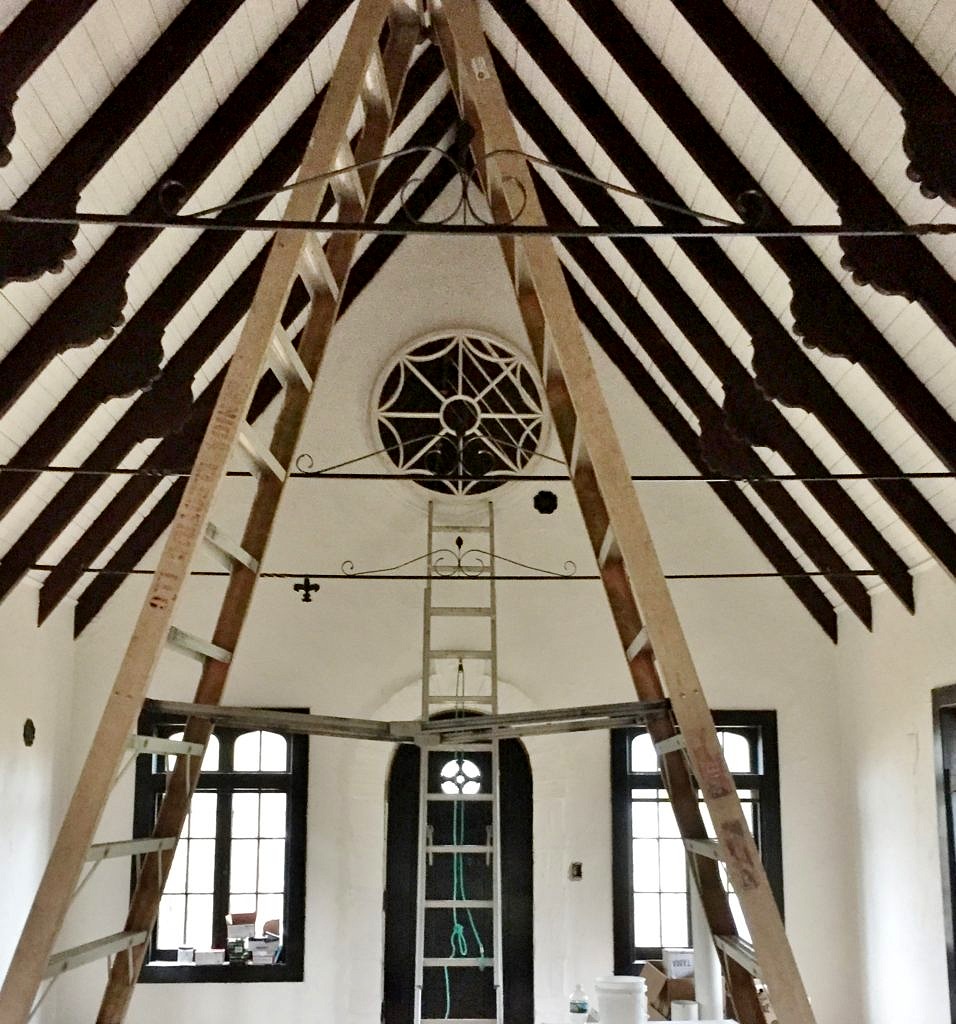
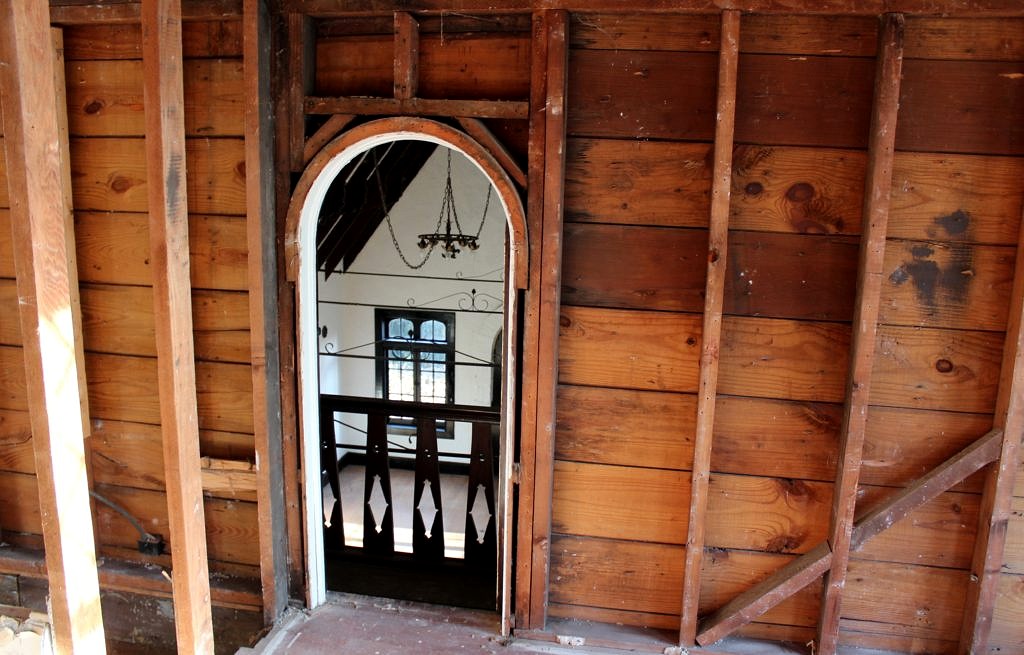
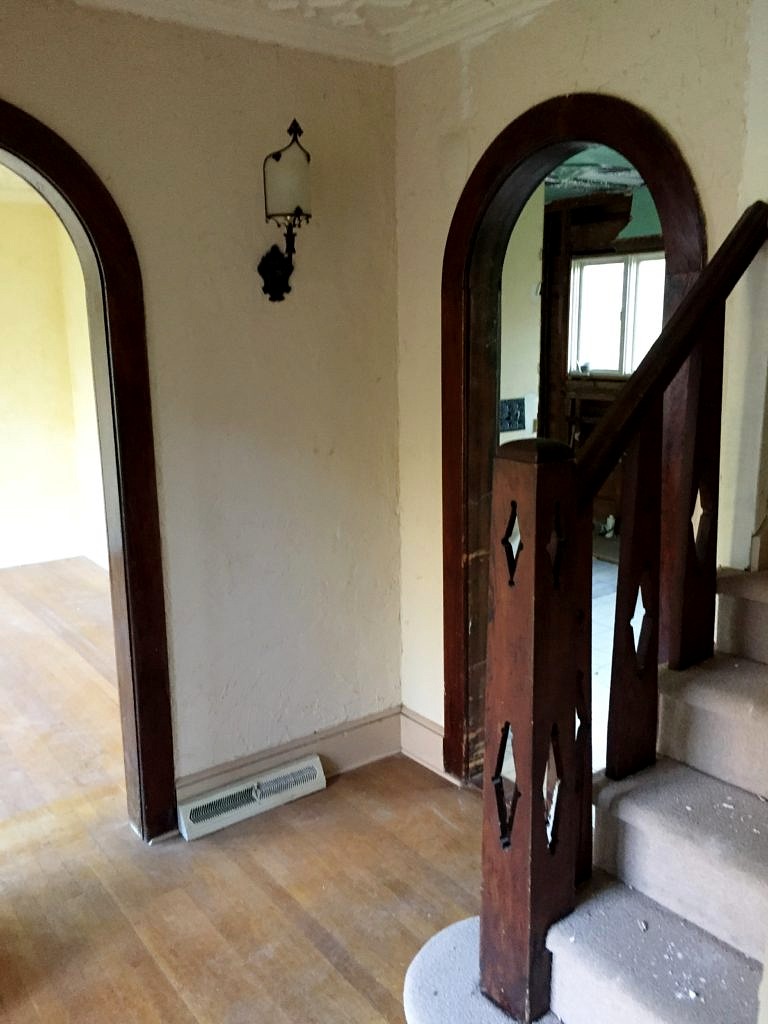
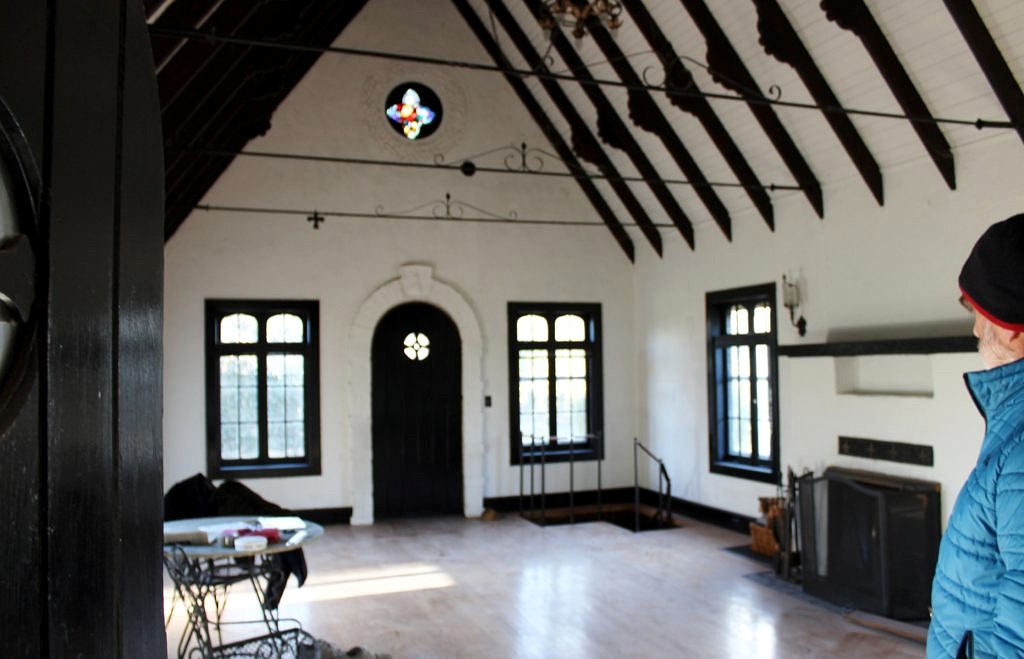
When we were looking at the house the main attraction for me was always the great room. But you might agree with Keith that it looked way too ecclesiastical, what with the stained glass window and fixtures straight out of the Spanish Inquisition era.
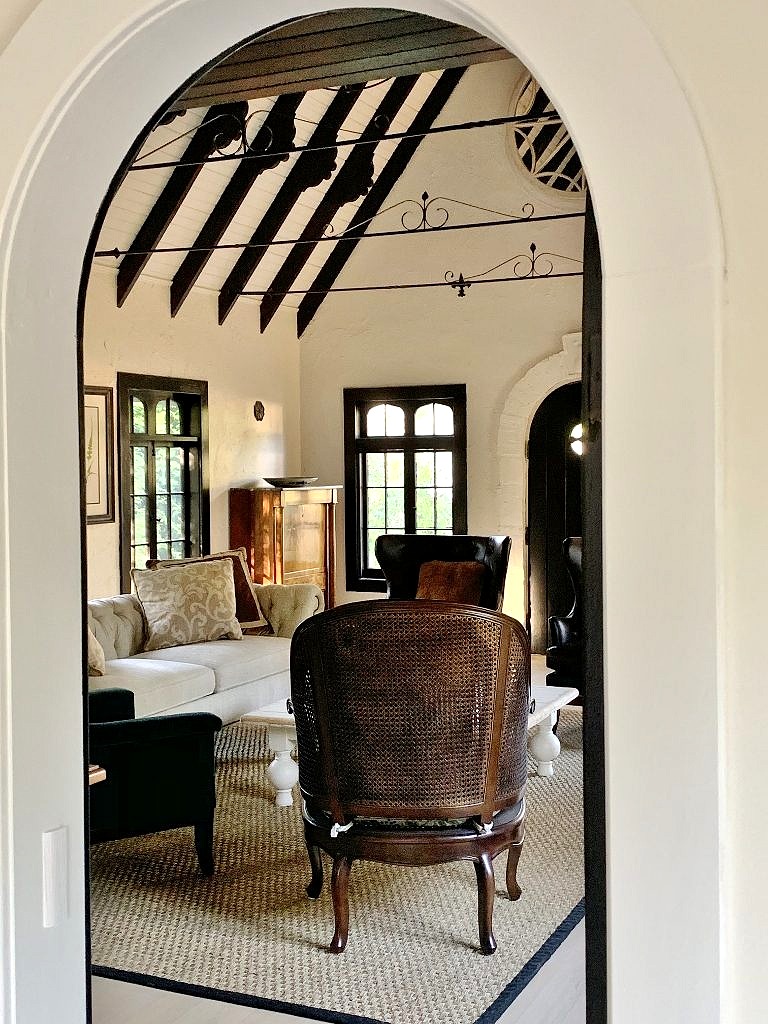
 I found a big mirror to hide the window and took away as much of the wrought iron as I could without having the ceiling cave in. Now it is a bit calmer and–more secular–although there is no hiding that cathedral ceiling!
 We had the floors stained white. (It was the only way to have the five different woods that were used on the various floors installed in the house over the last nine decades look relatively, and I mean relatively, the same). And honestly I would have painted all the woodwork white too but, because we are the painters and I don’t do ladders, for now, I am willing to leave well enough alone–as clearly so is Keith.
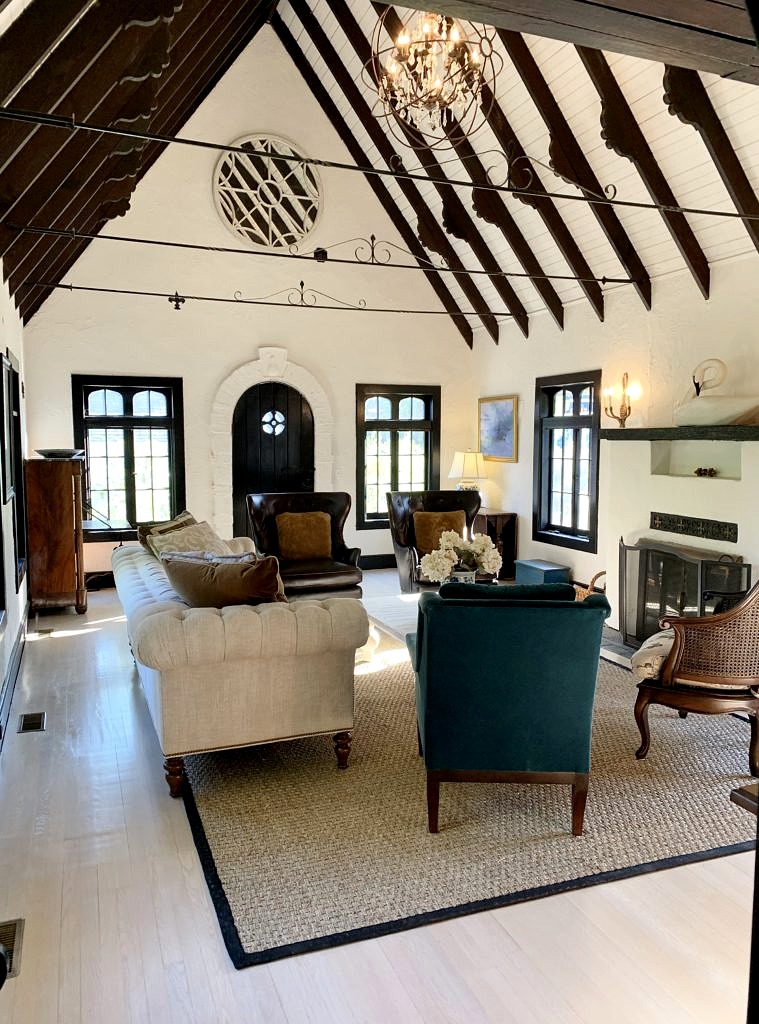
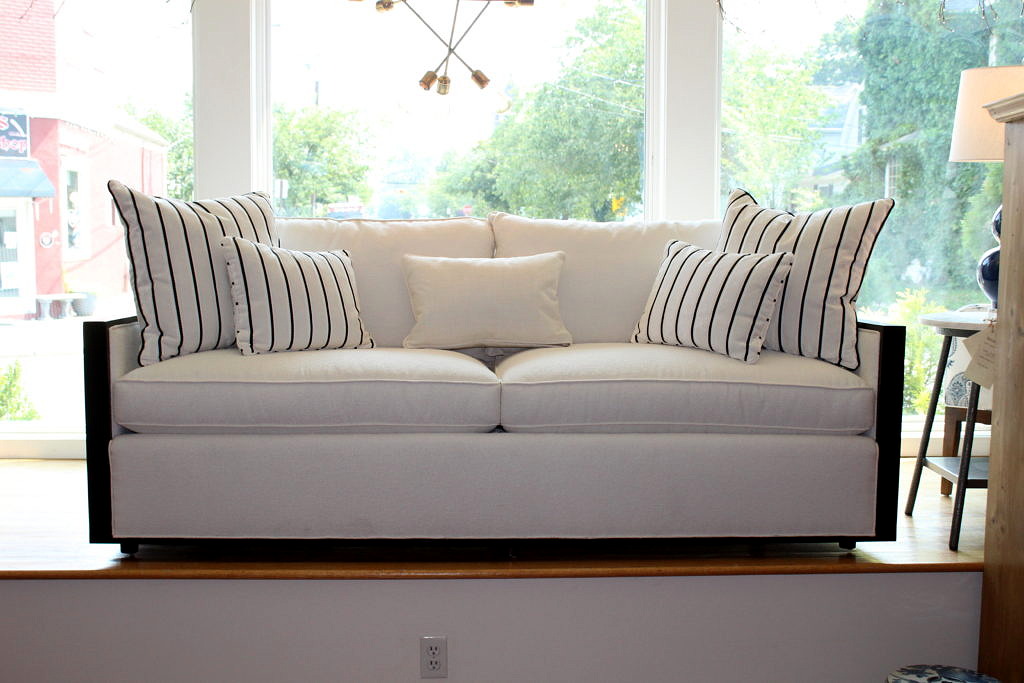
All the upholstery in the living room is by Hickory White, the higher end division of Sherrill Furniture. Originally I planned for a blue and white scheme and had a large navy blue sofa and four contrasting armchairs custom made for this space. The problem is they came in in April and we weren’t anywhere near ready so they got put in the store, and guess what? They sold.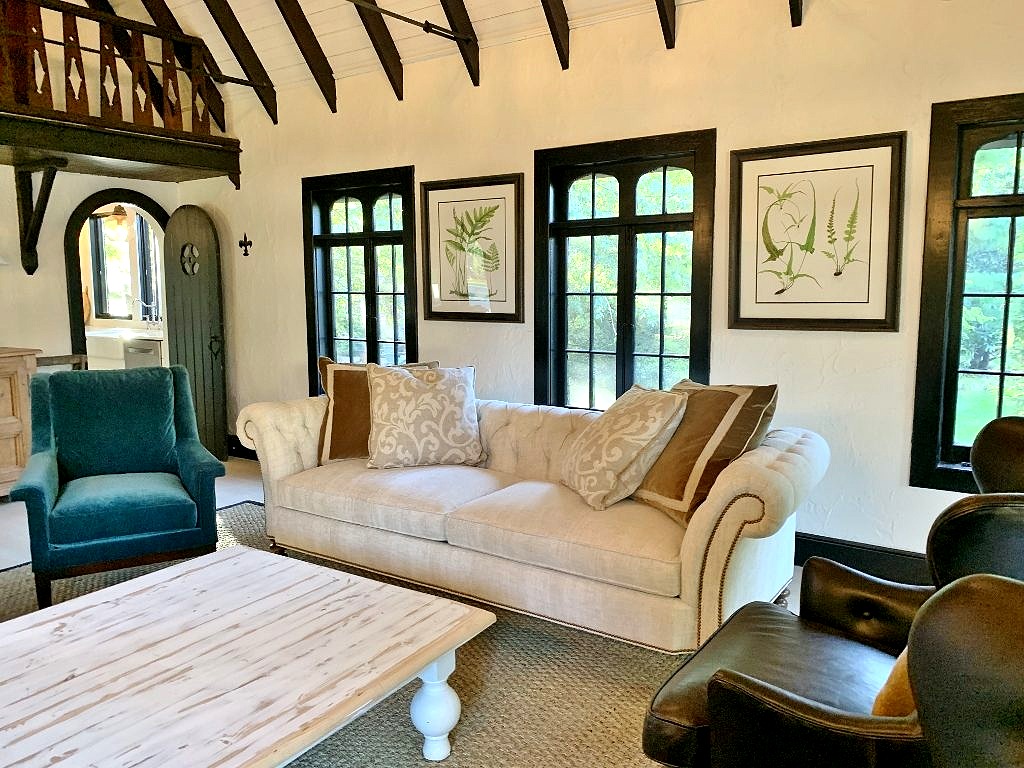 Fortunately later that spring we were able to buy the pieces you see in the photos from the Hickory White Showroom during the High Point Furniture Market. I’ve wanted a Chesterfield sofa for years and it was serendipitous that the interior design team at Hickory White had put this collection all together–seemingly just for us. Leather is perfect for day to day use in what is also our TV room and the velvet and the wicker chairs add some texture and style. The coffee table came from the depths of our warehouse, as did the antique Biedermeier secretary.
The sea grass rug is from Safavieh. For years I’ve been telling everyone just get a natural fiber rug and call it a day but this is the first time I’ve actually practiced what I preach. Now I can’t figure out why I waited so long. I love the way it looks, feels and even the smell–it has a slightly grassy odor–like you just mowed the lawn.
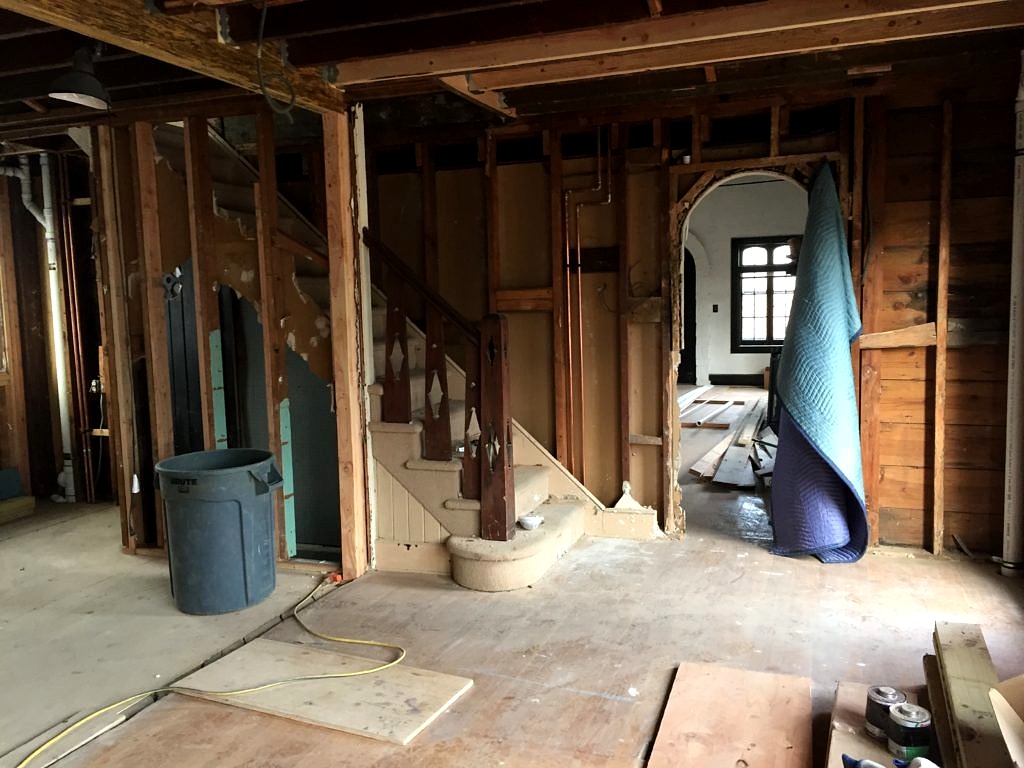
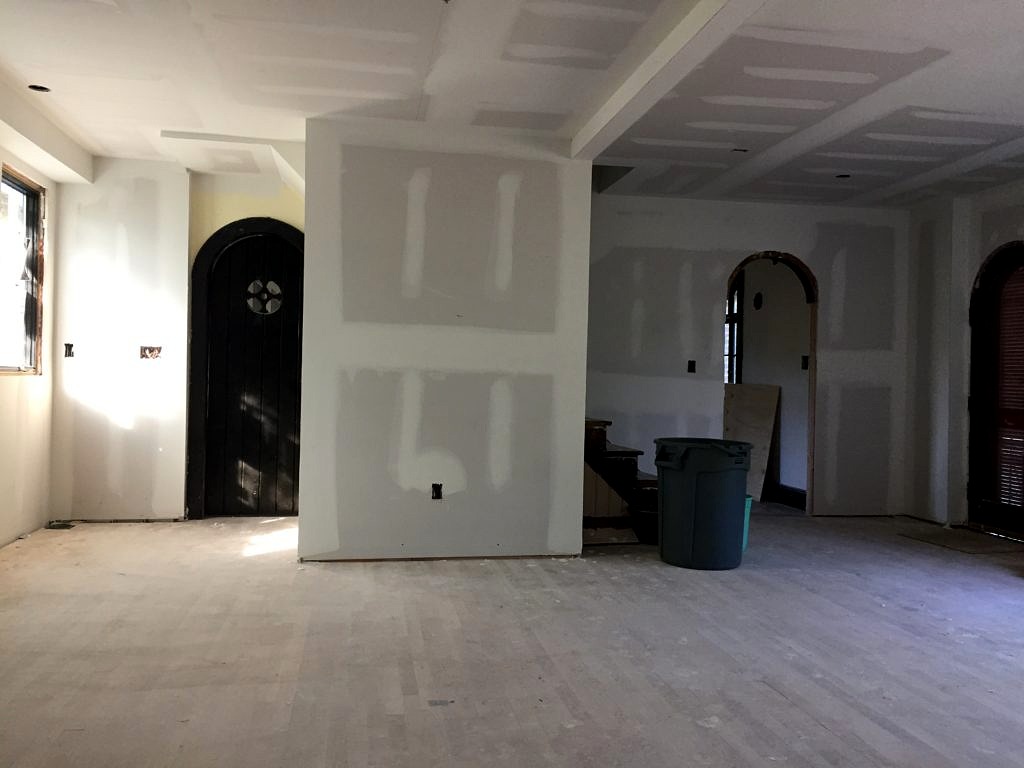
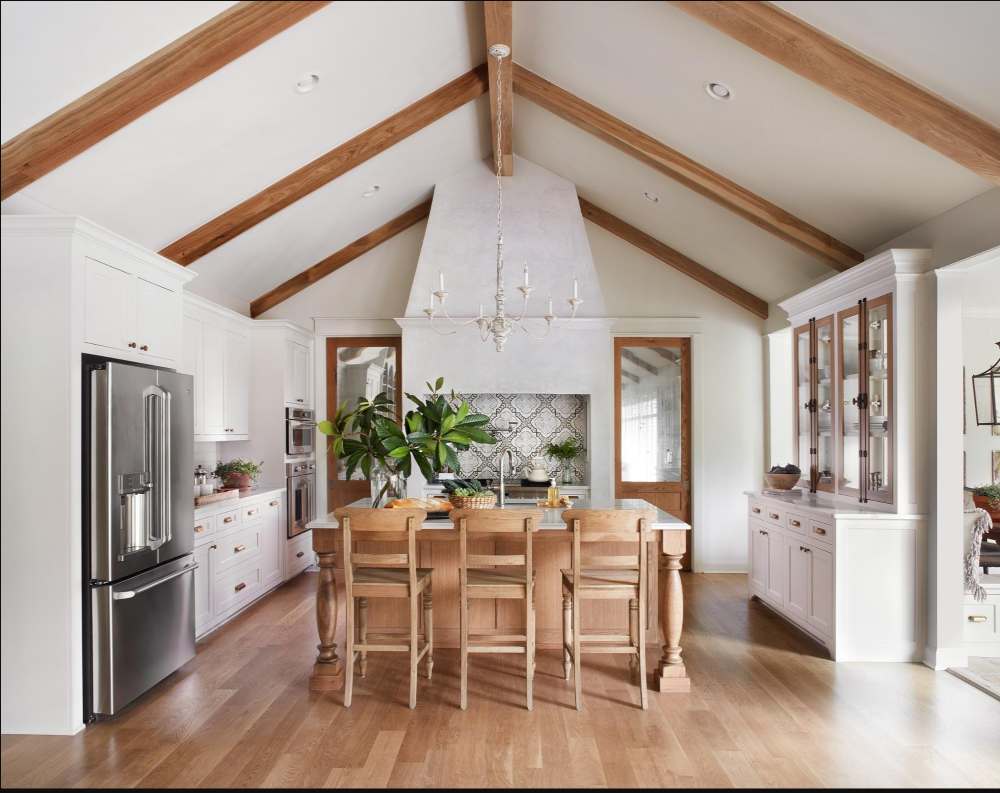
But, by and large most of my design thoughts over the past year went to figuring out how to create a new kitchen and dining area. First we decided to eliminate the back stairs. Even though I love a back stairway this served no real purpose and the extra doorway just mucked up the kitchen cabinet layout. 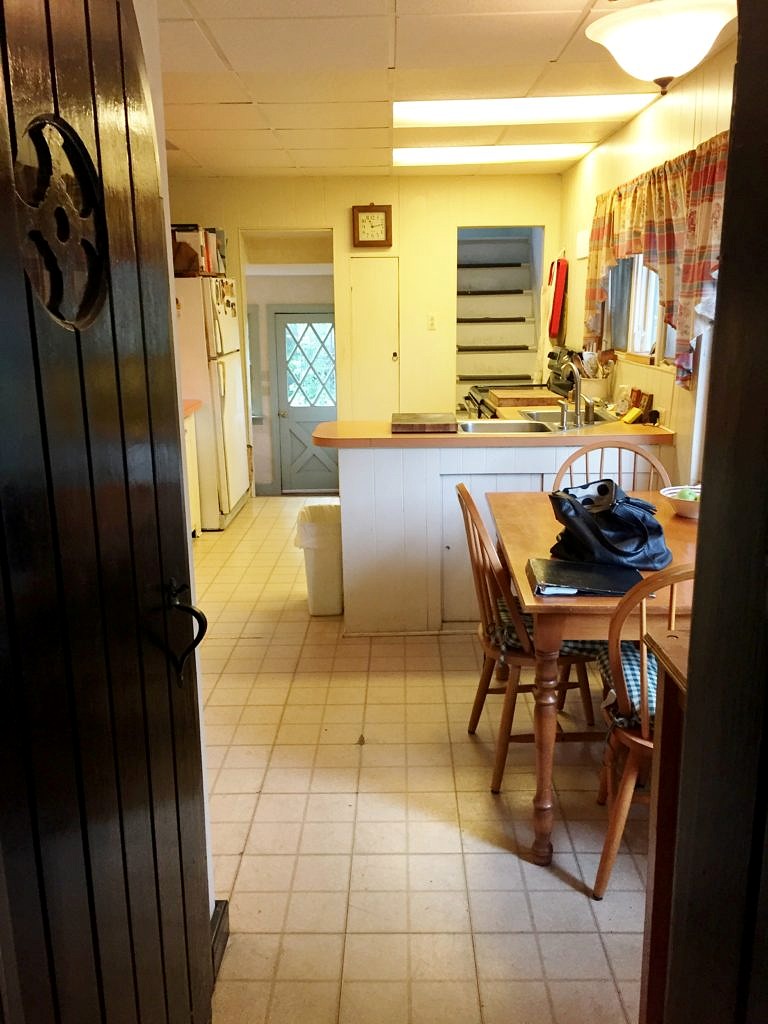 Next we removed all the walls between the dining room, kitchen area and foyer to create one open space.That meant the original built-in cabinet in the kitchen (which I had hoped to save) had to go.
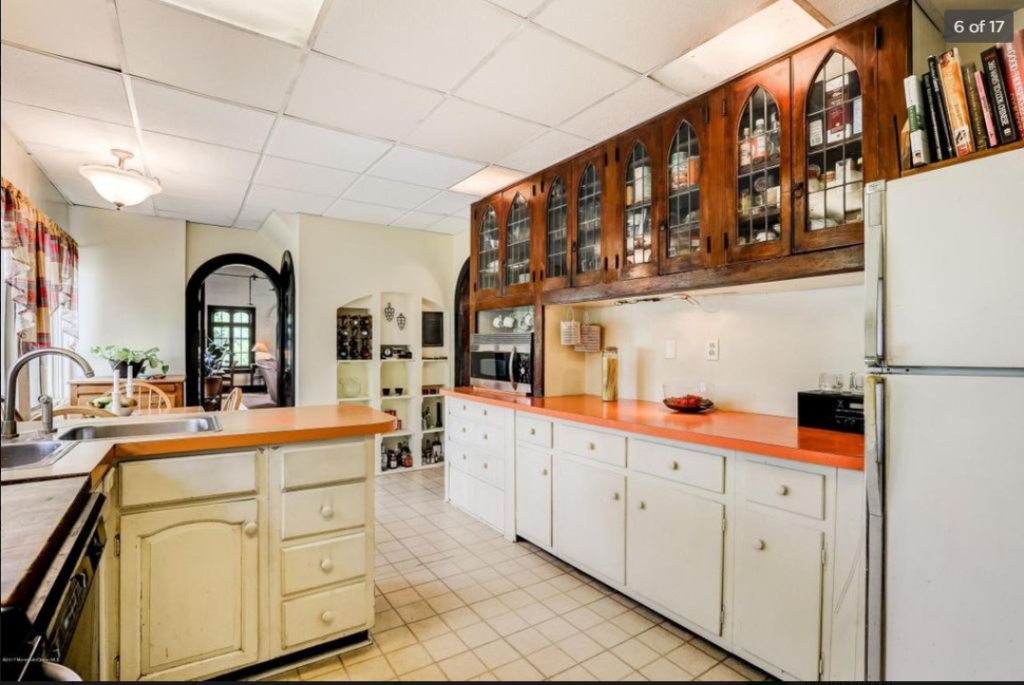
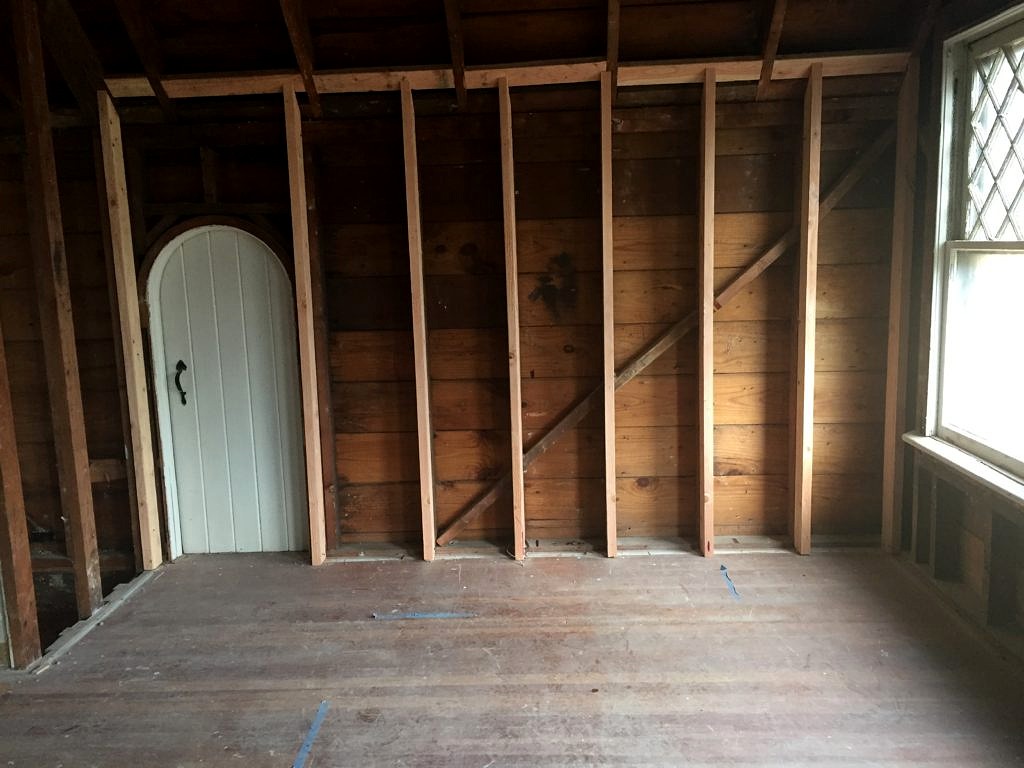
As did the fun foyer with all the hobbit doors, and the crazy ceiling which I had no interest in keeping.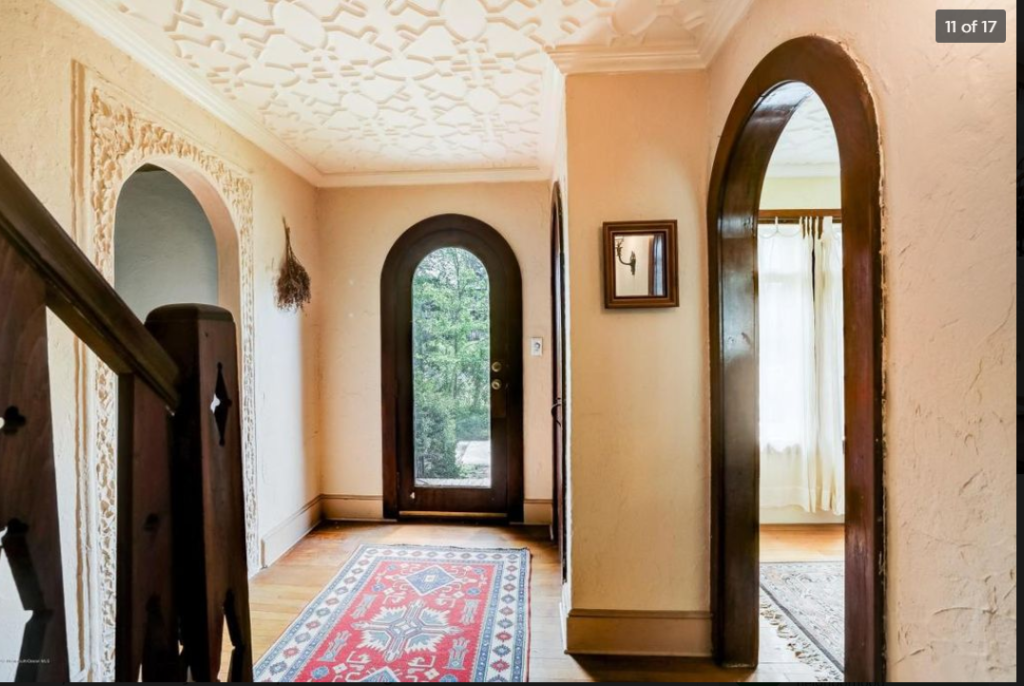
Didn’t exactly love it in the dining room either!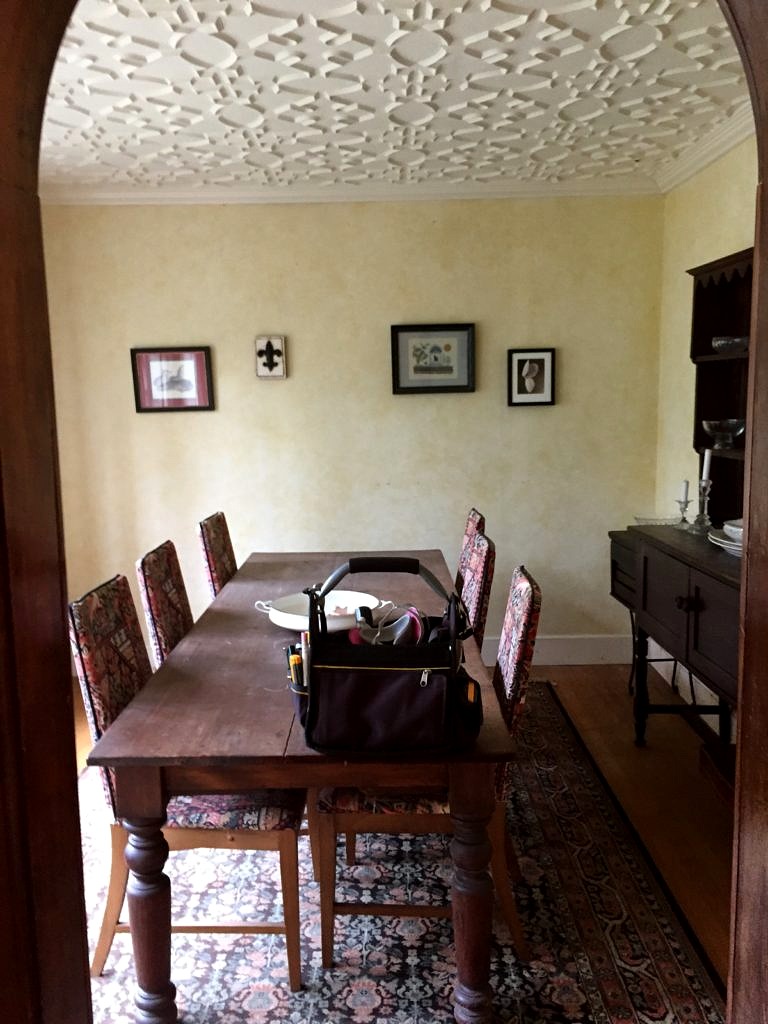 Now we have one room with our British Cottage trestle table front and center. Keith stained it white mainly because we thought we had enough stained wood action going on in the great room and honestly couldn’t figure out what color would work with the island.

Originally I planned on a built in island with a microwave drawer but in the end thought not seeing a microwave on the kitchen counter was a lame reason to build a custom island–for $7500. This island, from a company out of Austin Texas called Four Hands, was a third the price, adds a kind of rustic, urban chic, works as a server, has some storage and gives me just the right mount of separation from the kitchen work area.
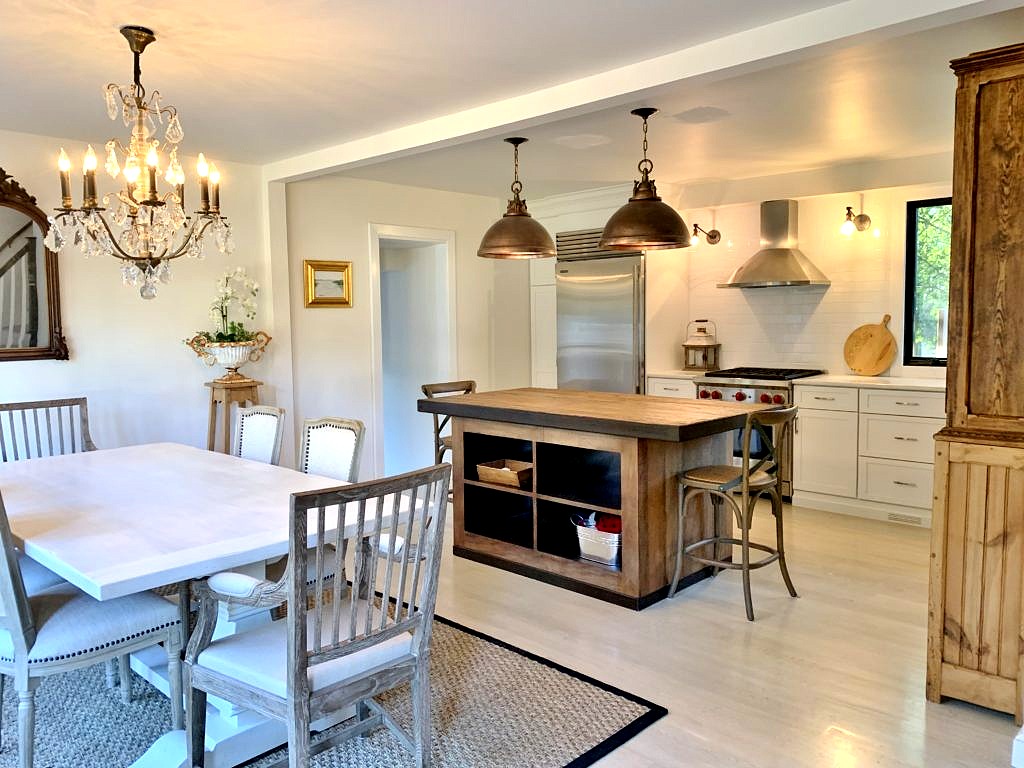
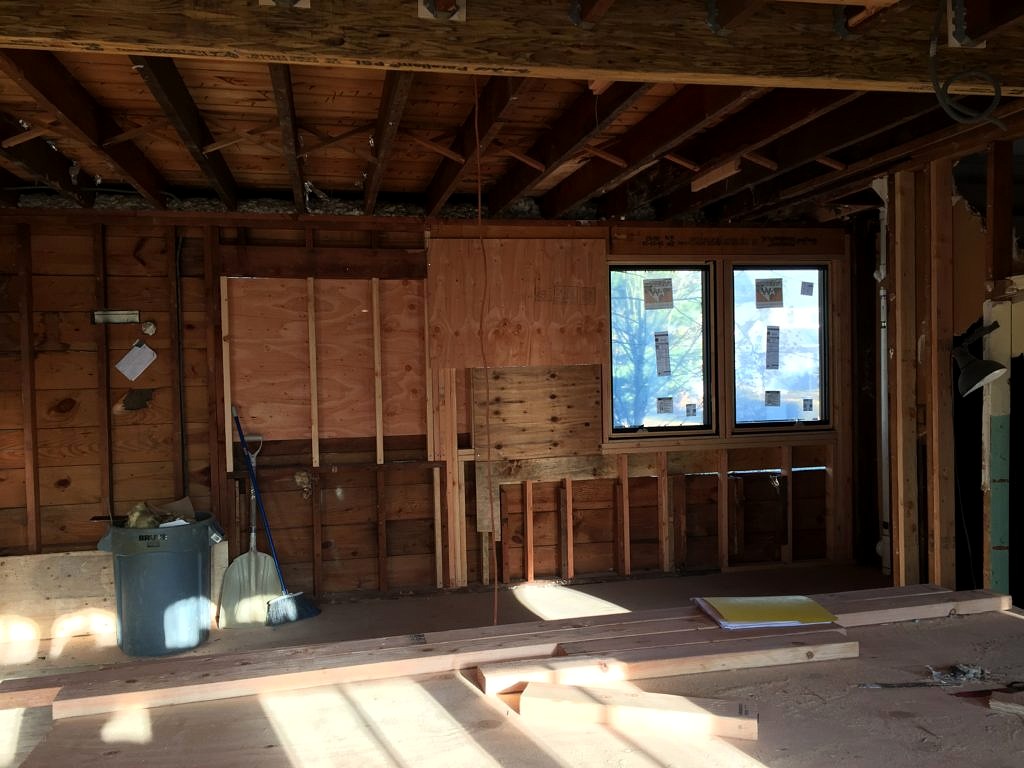
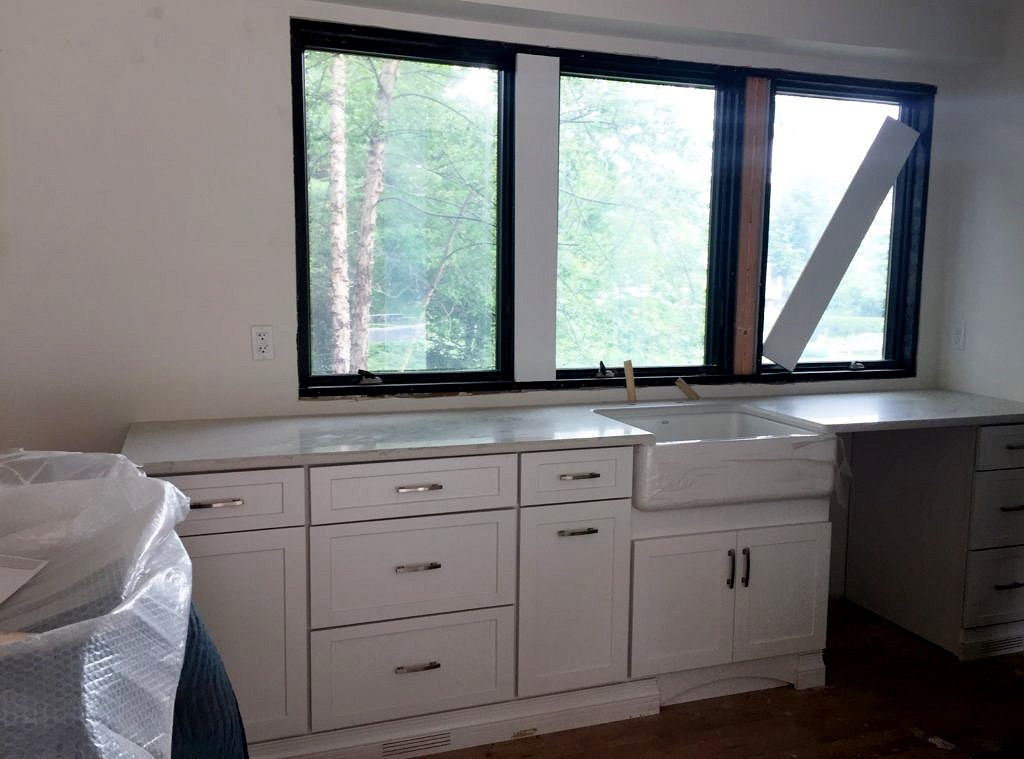
We took away half of the kitchen windows so we could fit the refrigerator along the back wall and avoid looking straight into our neighbor’s kitchen windows. The good news is the replacement windows we did install on the other side are generous in size and let in plenty of light, and–this is the best–offer prime views of our other neighbor’s lavish gardens!
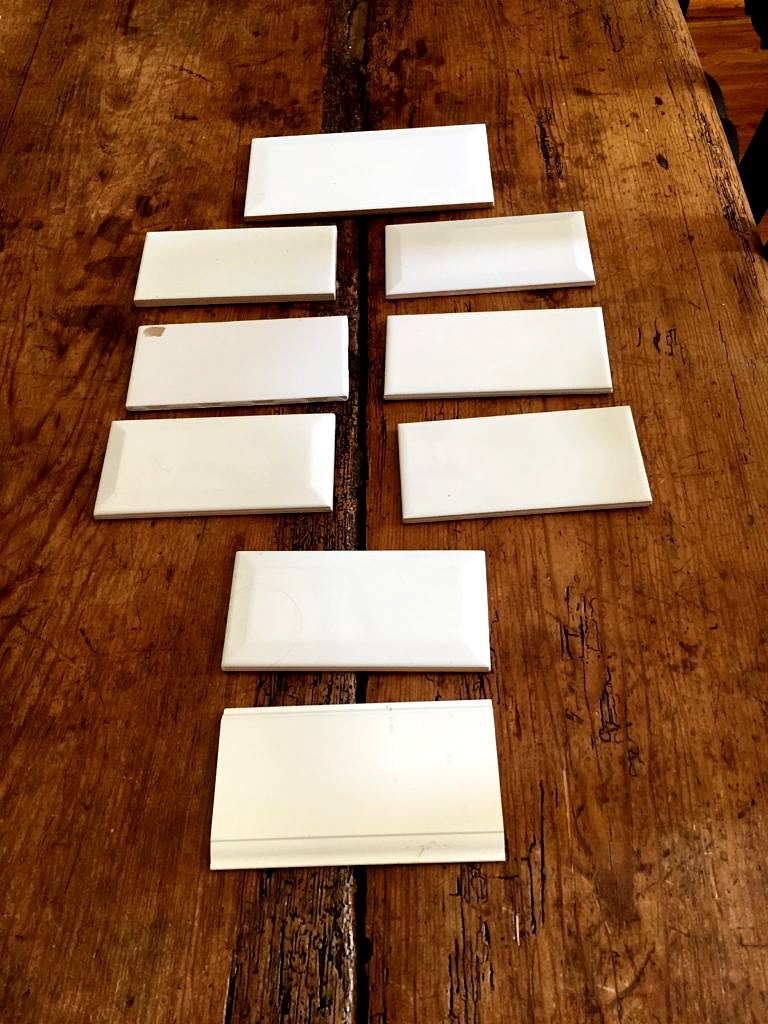
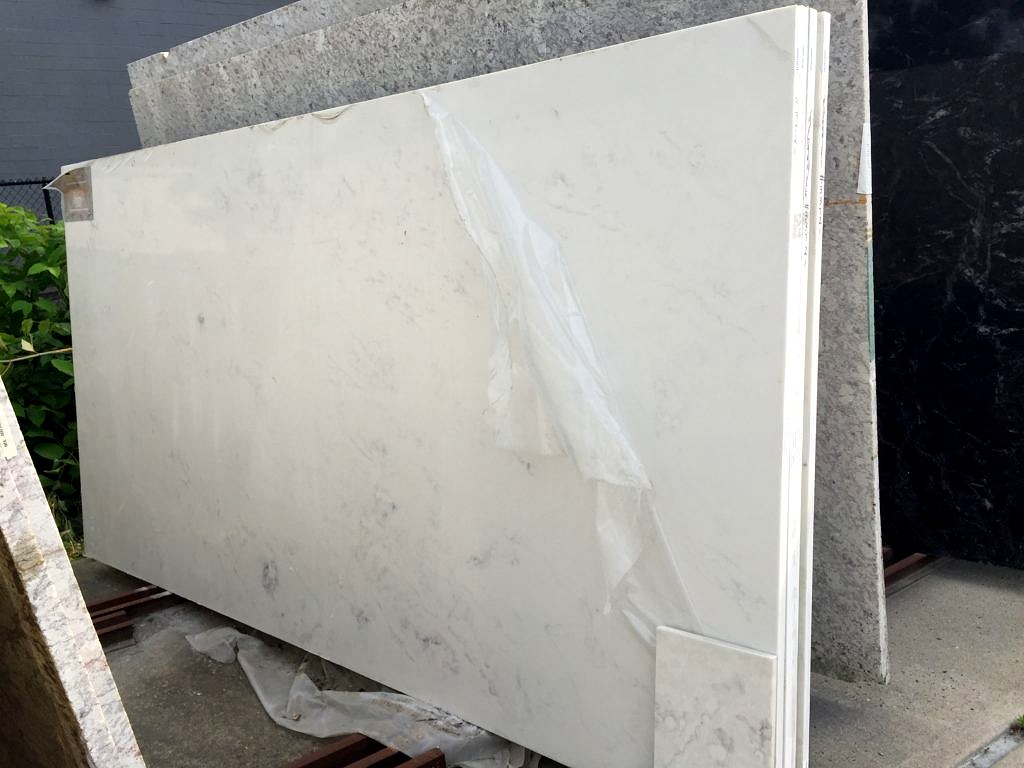
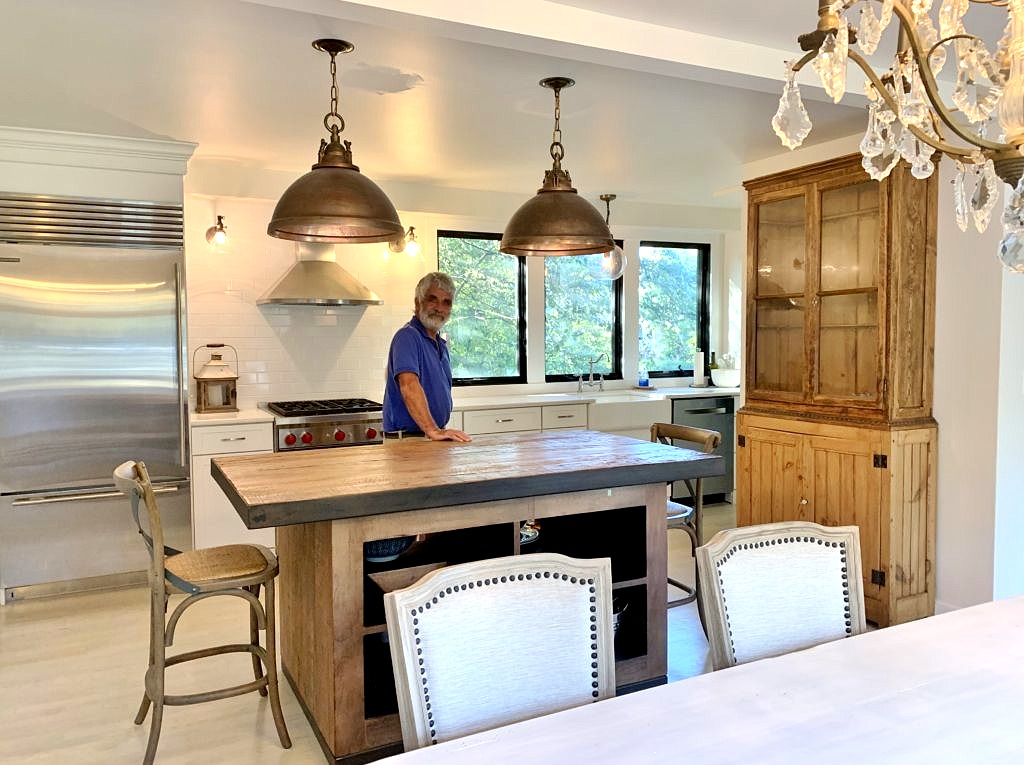 In the end, and a long story involving Community Appliance and a year’s interest free line of credit, we went with the most deluxe appliances we could possibly never afford, quartz countertops that happily look like marble to me, white subway tile, and white Shaker style cabinets. (I can’t believe that I just wrote in one sentence what took me ten months to decide and execute!)
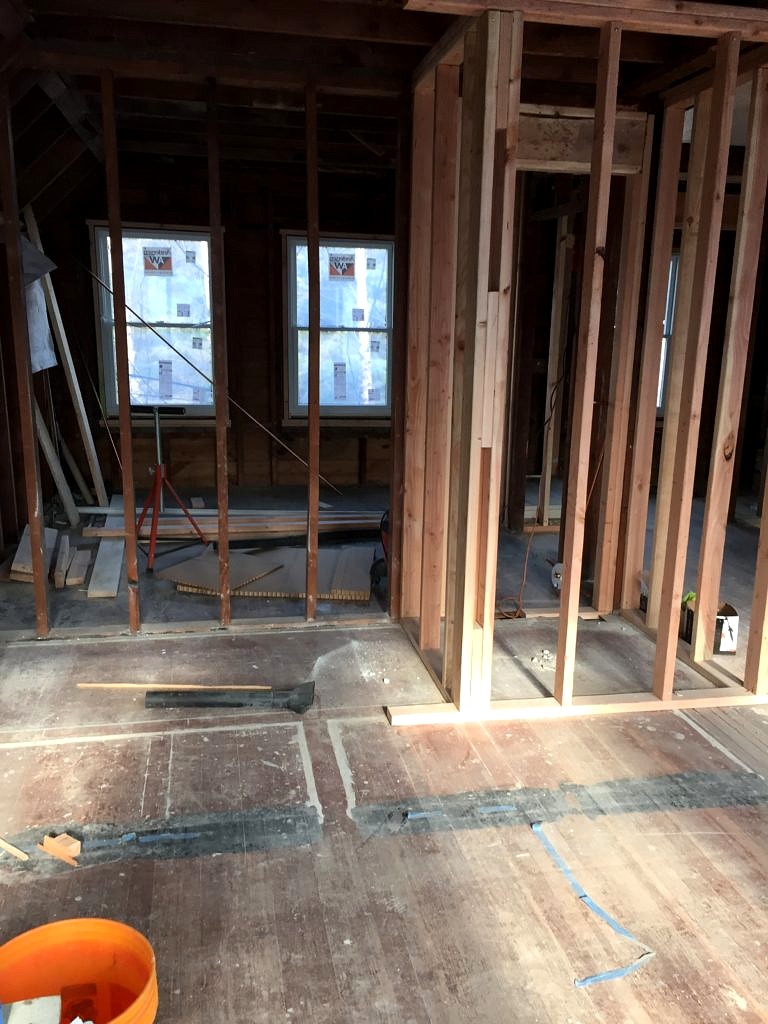
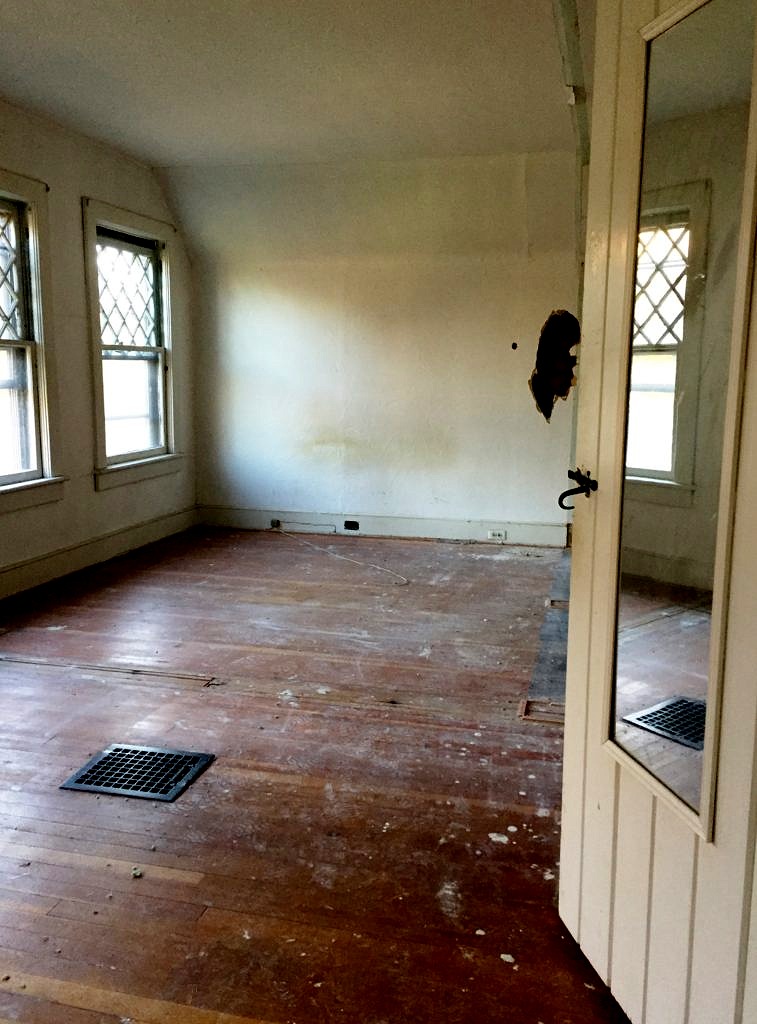
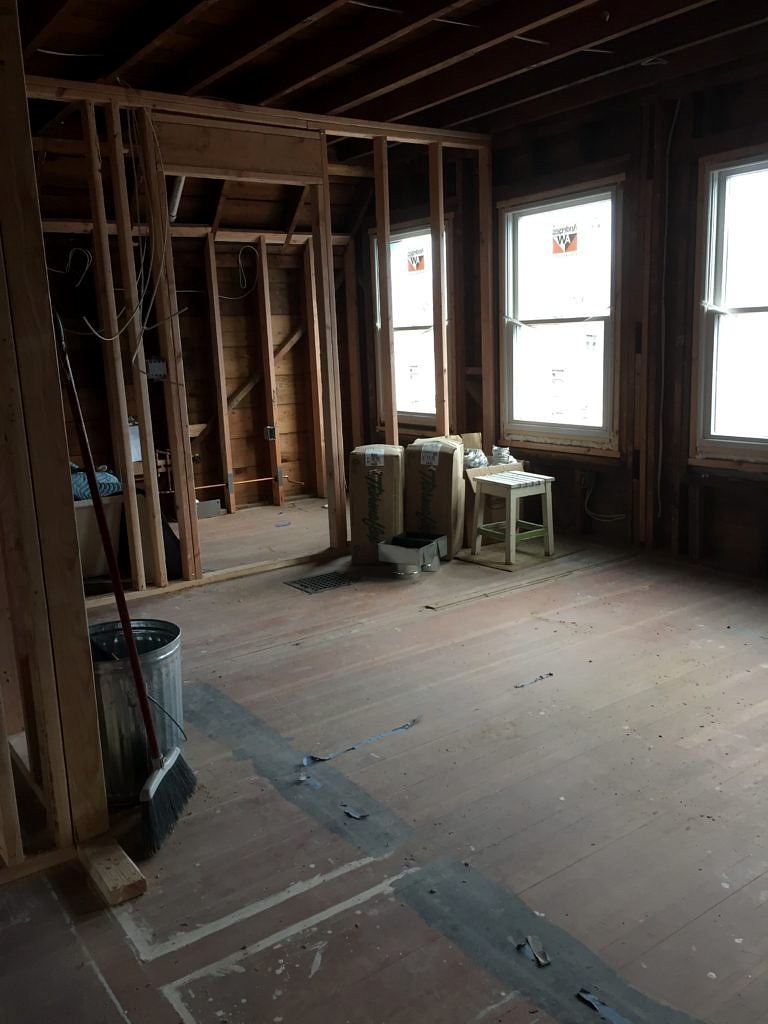
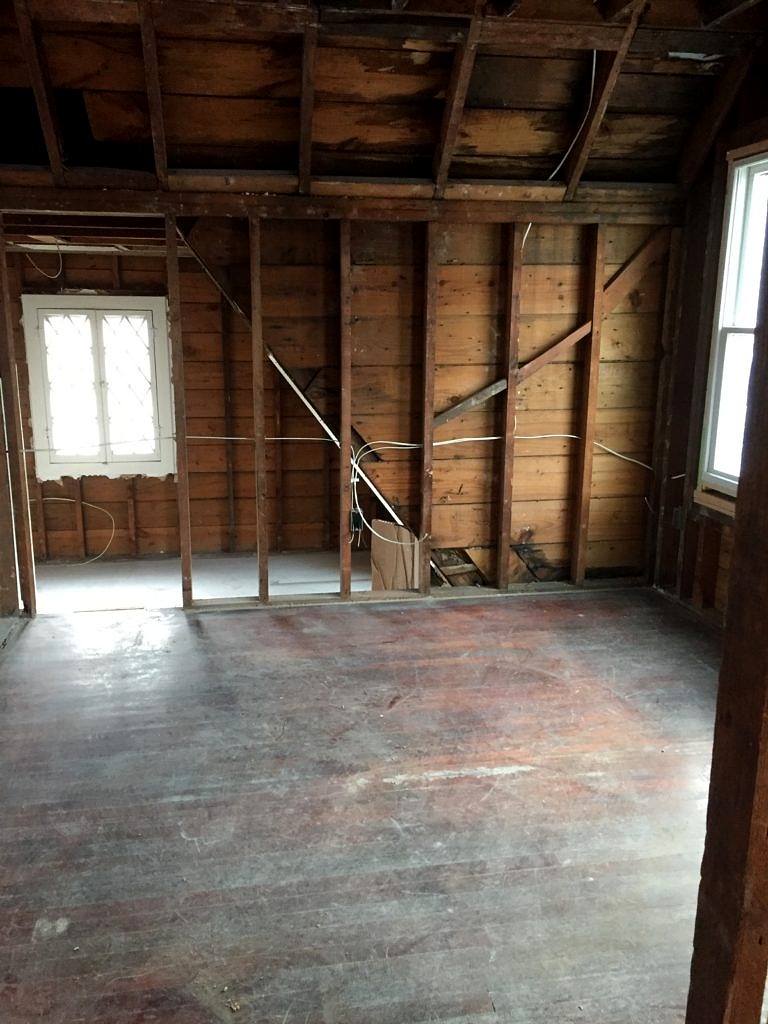
Renovating the entire upstairs was a ton of work. We (that means Keith) had to remove all the sheetrock, so we could insulate, rewire, replumb, and reconfigure the closets. Our first job was to come up to code and the second was to make it all flow. We painted all the walls and ceilings with BM China White, and the trim in Decorator’s White. Floors are bare and will stay that way for a while. We had the 90 year old fir sanded and then applied a white oil-based stain and three coats of poly. Our floor guys were concerned because the color is not even and they still show a lot of wear– but that is exactly what we were hoping for.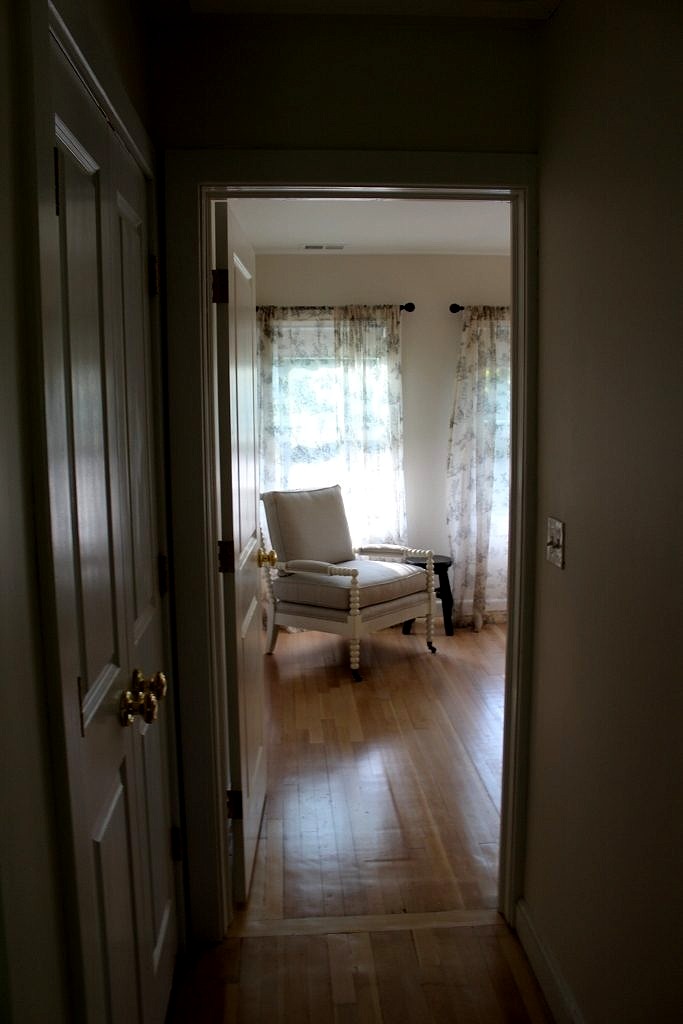
Providentially we had a British Cottage kingsize bed in antique black, normally a color we do not stock, in our warehouse. I pondered white or pine–but think that black adds the pop we need. Window treatments on hand included toile sheers with a charcoal vignette and they seem to work just fine for now. 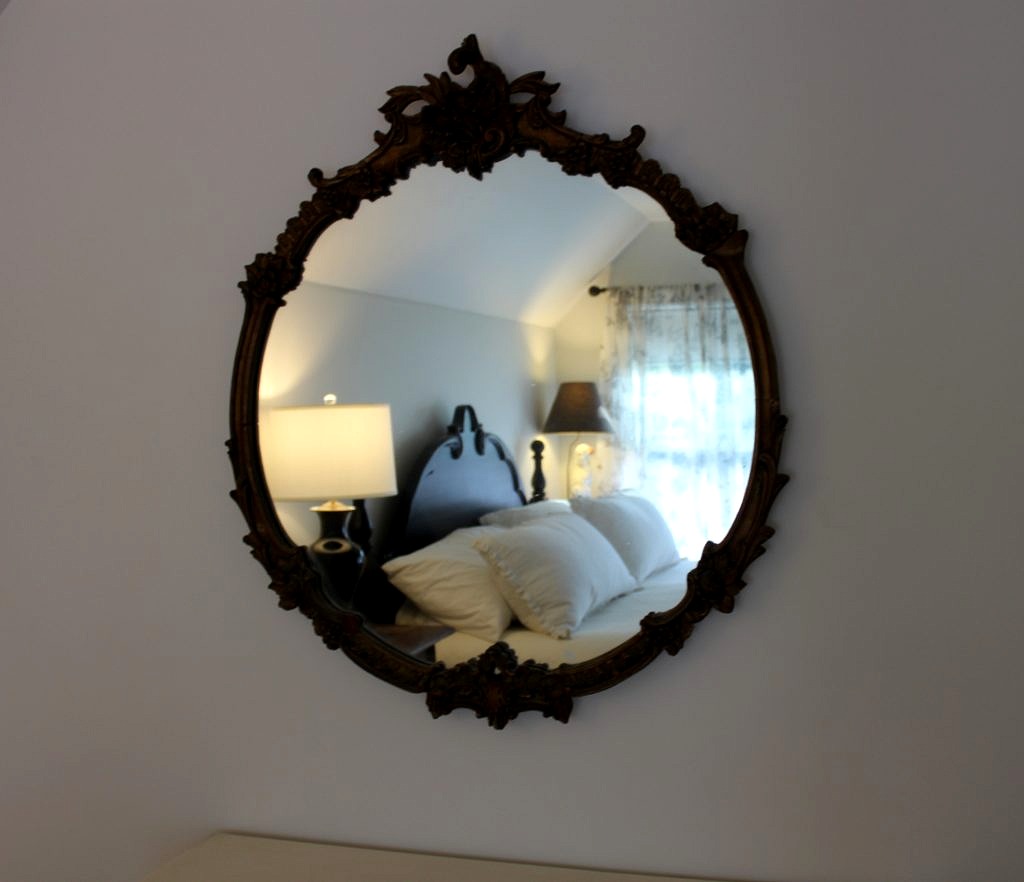
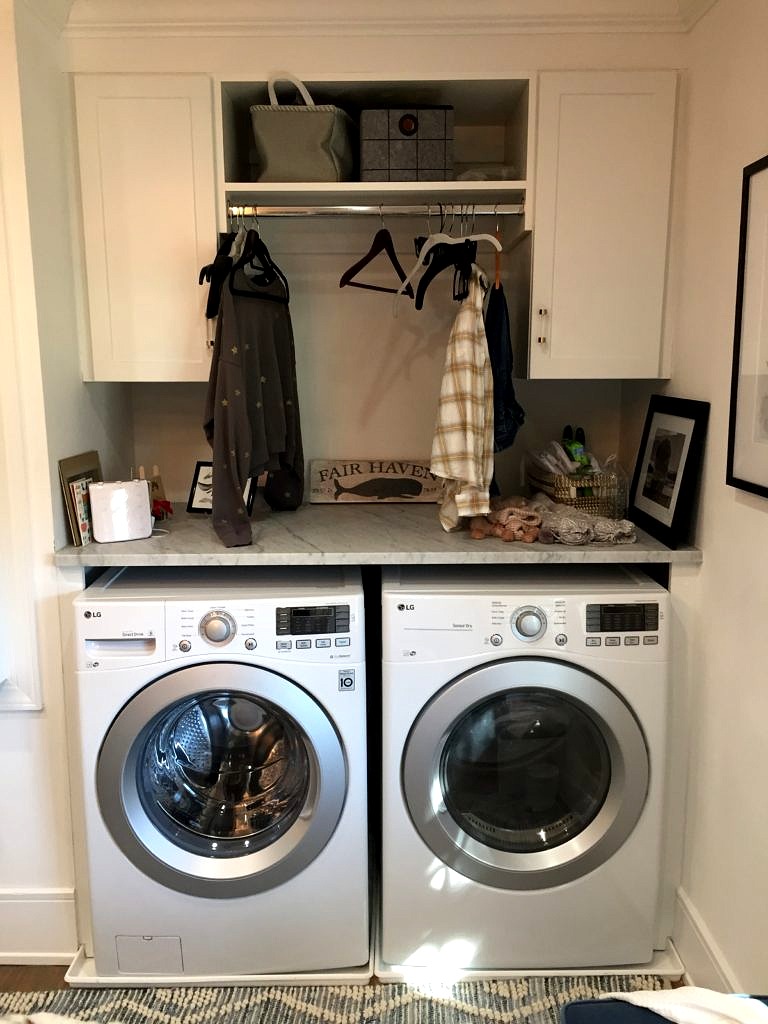
What was used as a third bedroom has become our closet/dressing room. I had a dressing room growing up and it makes a small bedroom seem a lot bigger once you remove the clutter that comes with clothing and putting the wash away. Which also just got a whole lot easier because we squeezed (literally) a washer/dryer into the room too.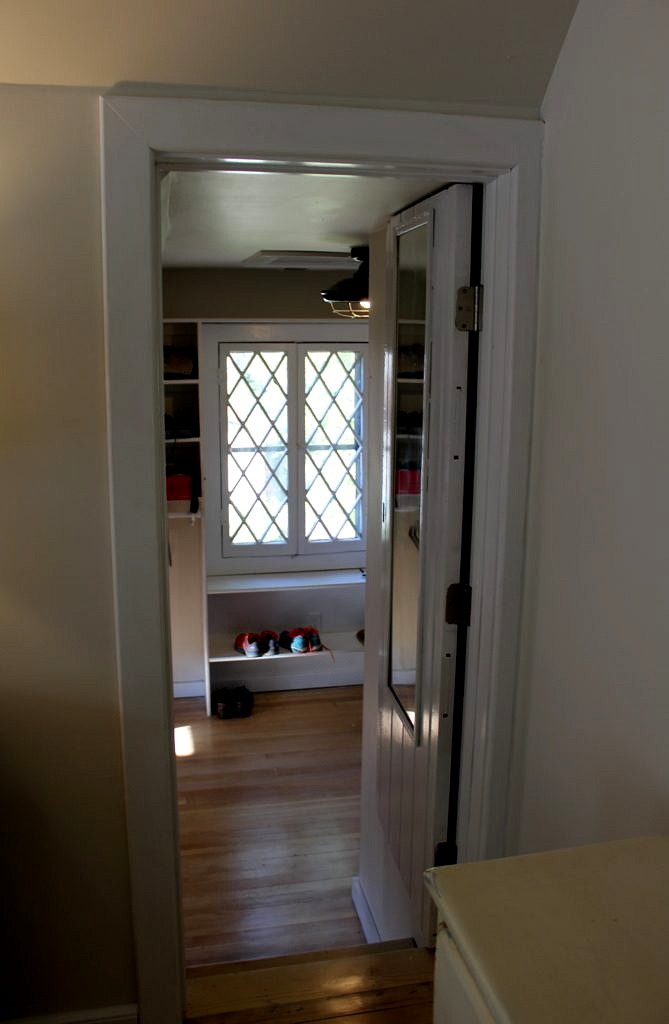
The other bedroom also got taken down to the studs and the closet moved to another wall.
 But once painted all that it needed (and could fit) was a pair of twin beds (by British Cottage of course) and an antique pine table to get us up and running for guests. Although the ancient Laura Ashley comforters from the old, old house might not be what my rough tough cowboy grandsons are expecting, they work just fine for now.
 That leaves just one room to reveal. The former garage off the kitchen that the previous owner used as an office.
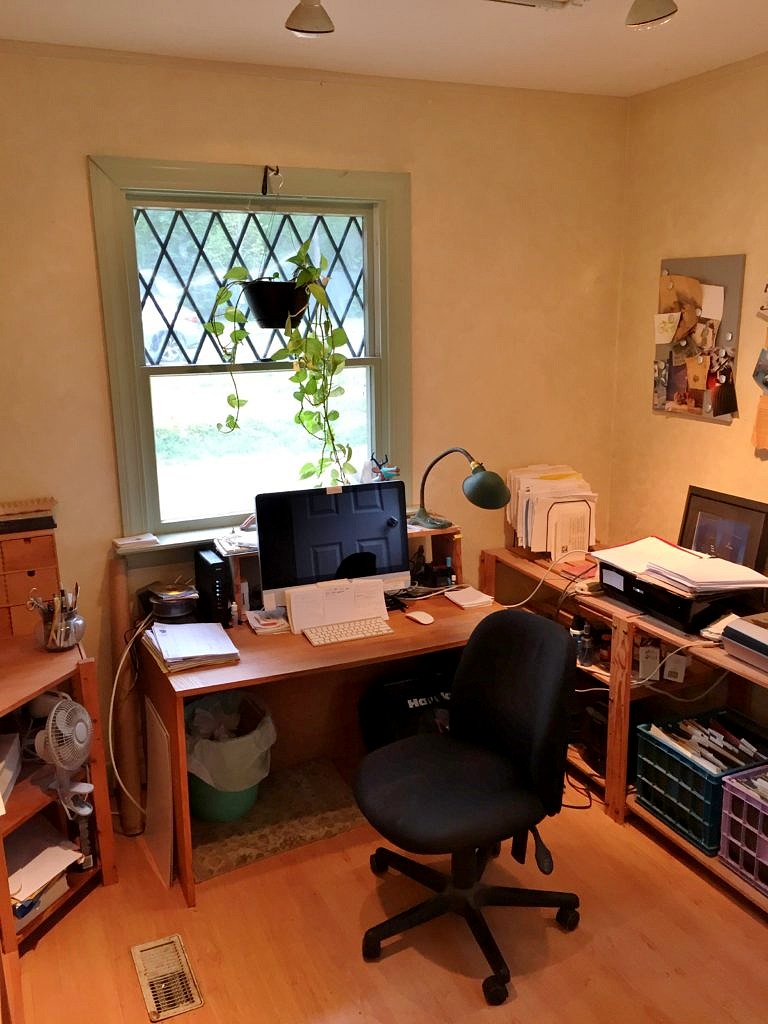
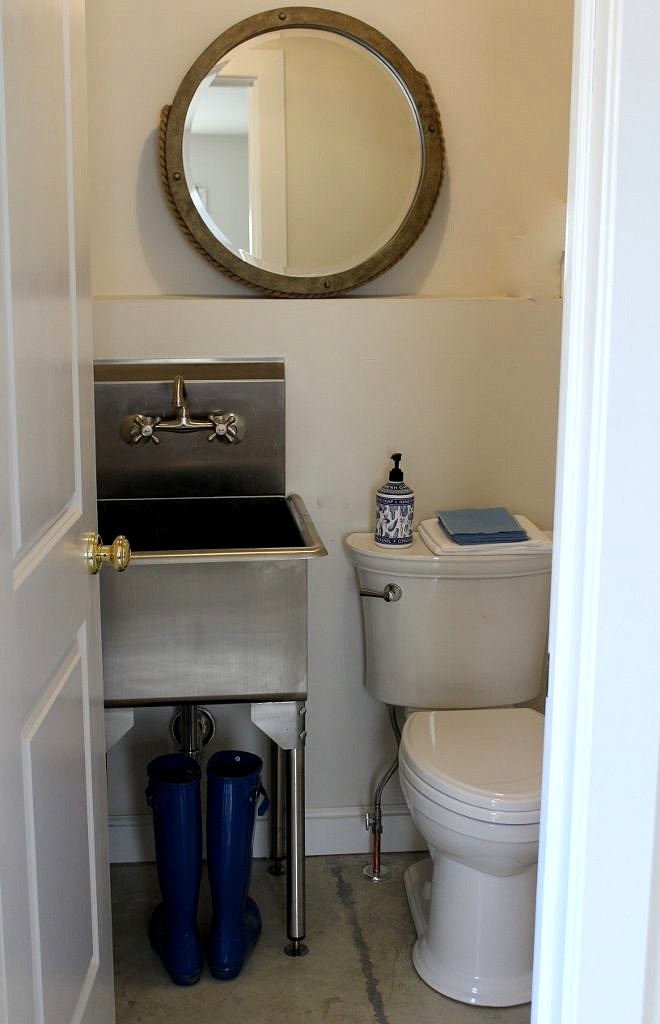
We made it into more of a sunroom, replacing the engineered wood floor with a concrete-like mix that Mike created so it looks and feels like stone.
 Then we put a laundry sink in the adjacent bathroom. I agonized over this decision mainly because the darn sink cost a fortune–or nearly–and it certainly isn’t at all what you would expect to see in your normal suburban powder room. But this is right by my back door and I am a very sloppy gardener. Now I don’t need to sully my brand new white ceramic farm sink, white kitchen floor, or whatever else I can get my dirty hands on!
So that wraps up our Fair Haven Fixer Upper saga. Would we do it again? Hell yes! Next time we will be a bit smarter about reading contracts. Who knew that the fine print really does matter? And I will try to think a bit harder about where outlets and lights should go. A lot of this is required by code but it it so frustrating to have switches and outlets not exactly where you want them. Same thing with plumbing fixtures; what seems okay in the rough may not be what you want in the end. But that is for next time; tomorrow, after all, is another day!
And right now I want to share my favorite new recipe of the summer: Maangchi’s Cheese Buldak or Fire Chicken from the NY Times Magazine; although I have never made the recipe the way it is written. I use whole bone-in chicken thighs that I marinate in a mixture of whatever bottled barbecue sauce is languishing in the fridge, along with a ton of hot sauce, brown sugar, garlic, soy sauce and a little rice wine vinegar. Then I saute a chopped up onion in olive oil, add the chicken with the marinade, a splash of water and let that cook for about a half hour. Add the cheese and broil then top with diced scallions. I’ve served this with leftover corn cut off the cob (amazing), basmati rice and stir-fry rice noodles. Anything goes. So whether you follow the recipe or my way–try this dish if you, like most of us I expect, need a new fabulous chicken recipe.
Maangchi’s Cheese Buldak
INGREDIENTS
- ¼ cup gochugaru (Korean red-pepper flakes)
- 2 tablespoons gochujang (Korean red-pepper paste)
- 3 tablespoons light brown sugar
- 3 cloves garlic, peeled and minced (about 2 tablespoons)
- 1 (1-inch) piece ginger, peeled and minced (about 1 tablespoon)
- 1 tablespoon soy sauce
- ½ teaspoon freshly ground black pepper
- 1 pound boneless, skinless chicken thighs, cut into ¾-inch cubes
- 2 tablespoons neutral oil, such as canola or peanut
- 4 ounces sliced Korean rice cakes (optional)
- 6 to 8 ounces low-moisture mozzarella, thinly sliced
- 2 scallions, sliced, for garnish
-
PREPARATION
- Combine the gochugaru, gochujang, brown sugar, garlic, ginger, soy sauce and black pepper in a medium bowl and mix well. Add the chicken and stir until it is well coated.
- If you’re using the rice cakes, swirl the oil into a large, oven-safe skillet set over medium-high heat and wait for it to shimmer. Add the rice cakes and cook, turning the cakes often, until they are a little crisp, 3 to 4 minutes. Transfer the rice cakes to a small bowl and set aside. If you’re not using rice cakes, simply swirl the oil into the pan and move along to the next step.
- Add the chicken mixture to the pan along with ¼ cup water. Cover and cook over medium-high heat, stirring occasionally, until the chicken is cooked through, 8 to 10 minutes, stirring in the rice cakes halfway through, if using. Meanwhile, heat the broiler in your oven.
- Remove the chicken from the heat. Cover the pan with the sliced mozzarella, then slide the pan under the broiler. Cook until the cheese has melted and browned in spots, about 2 minutes. Remove from the oven, and sprinkle with scallions. Serve immediately, with rice.
The End


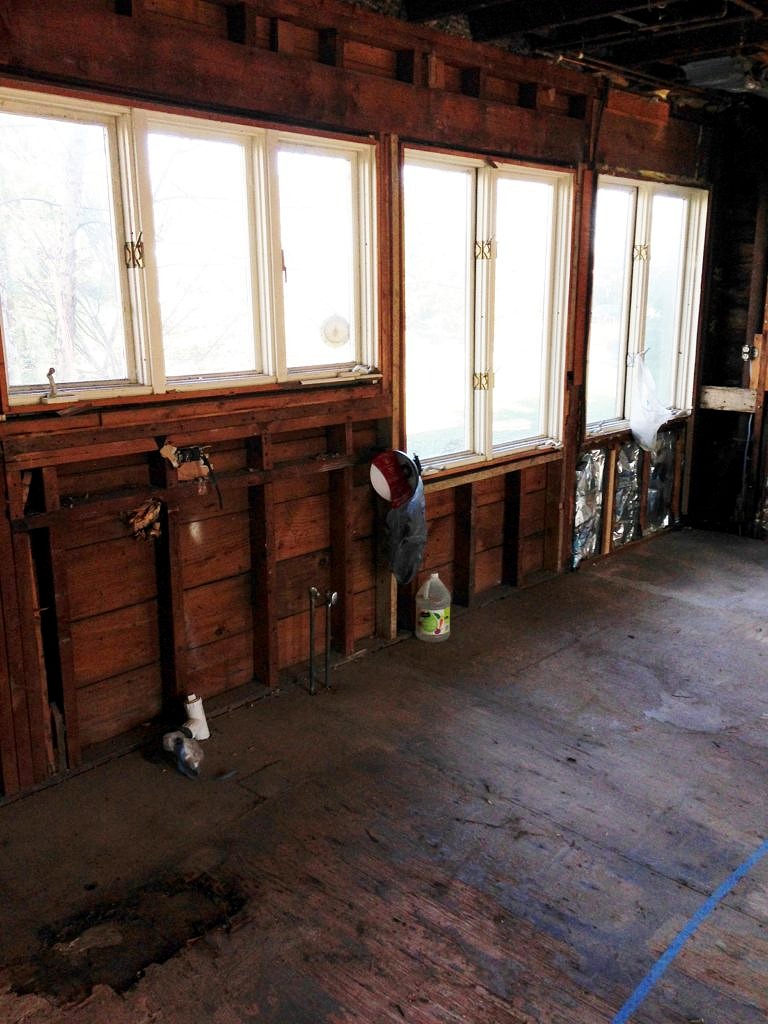
 The reality:
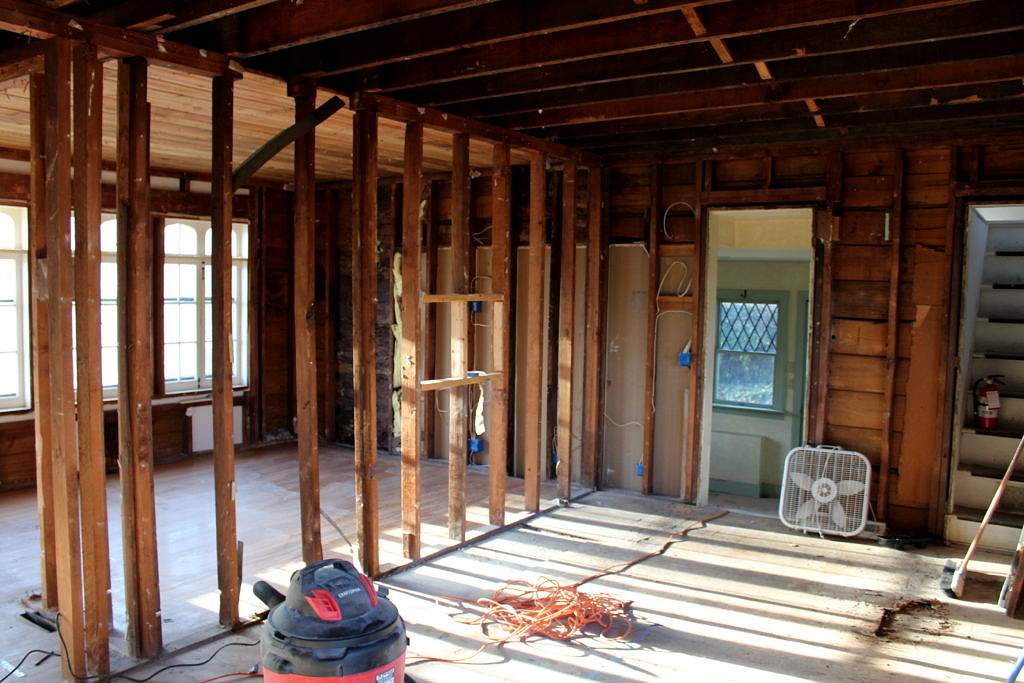
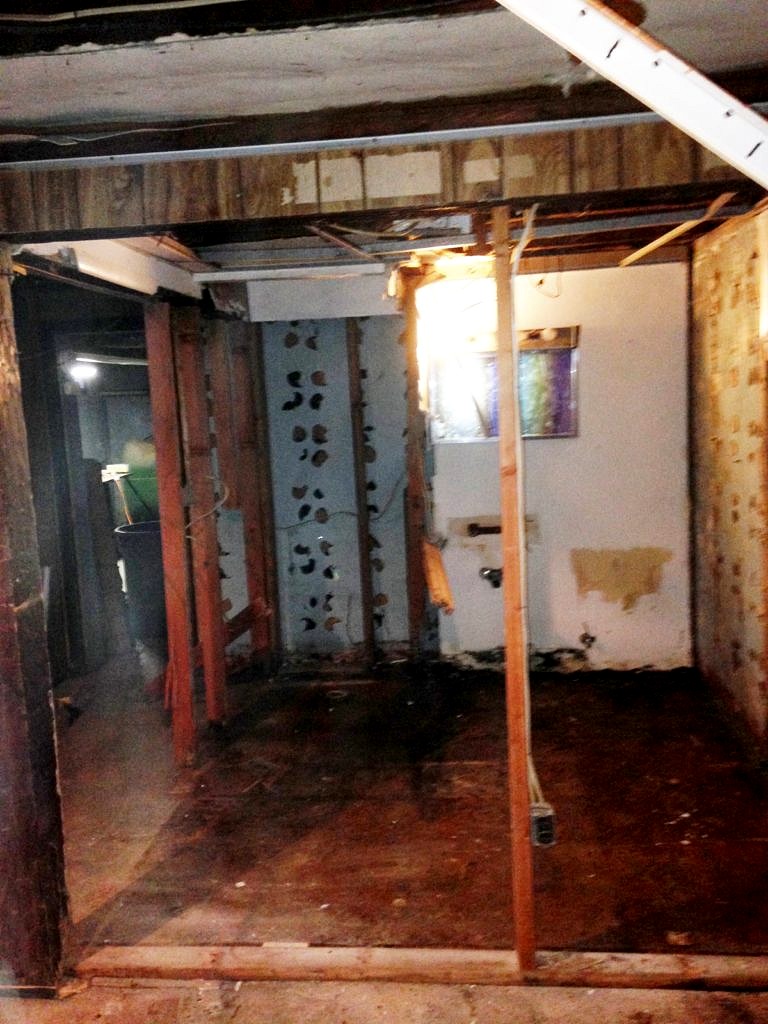
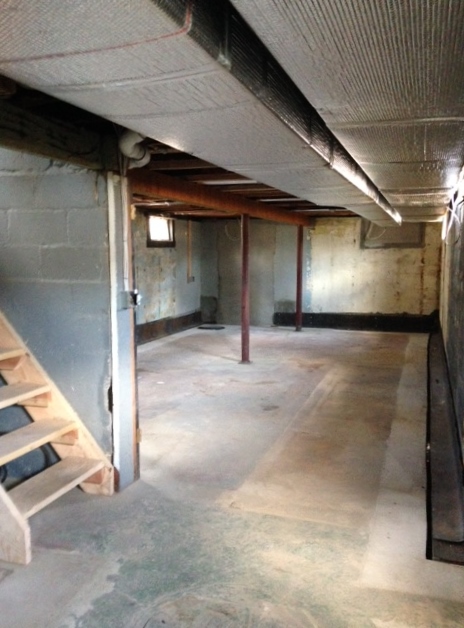
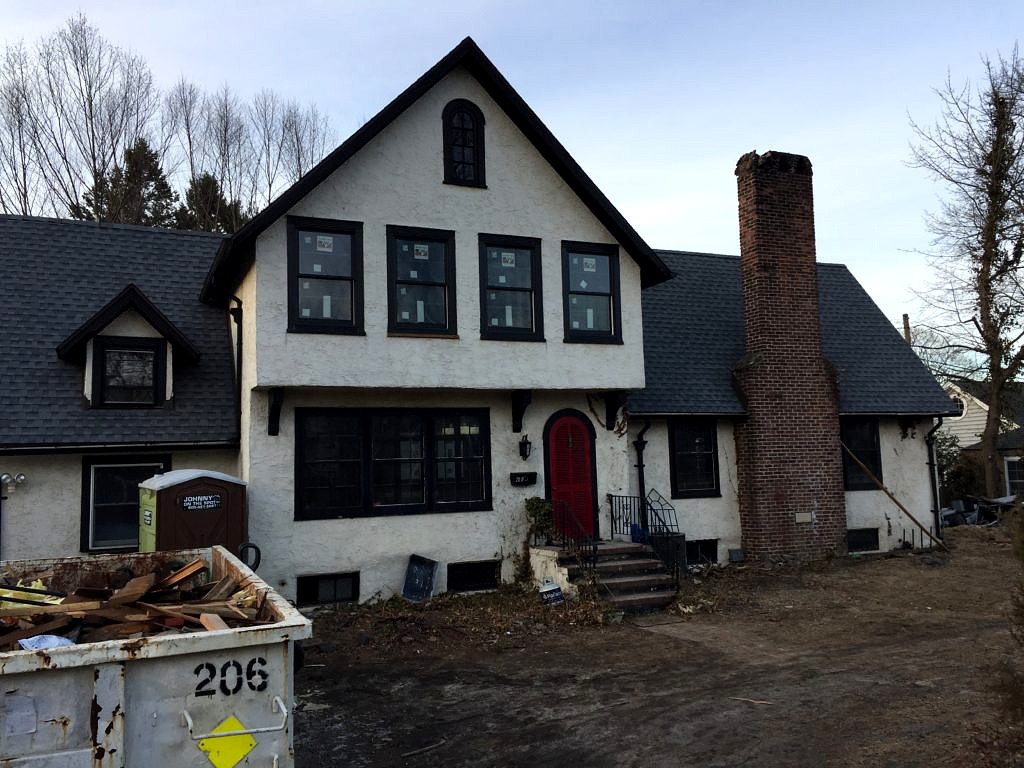 We’re about 14 weeks and four dumpsters into our project. My original plan was to be finished by March 1–not going to happen. Right now, as I type, there is a crew in the basement installing internal french drains. Who knew Fair Haven was built over a series of underground streams? And who believed their seller when he said all the wet basement issues were resolved when new drains were installed in the road a couple of years ago?
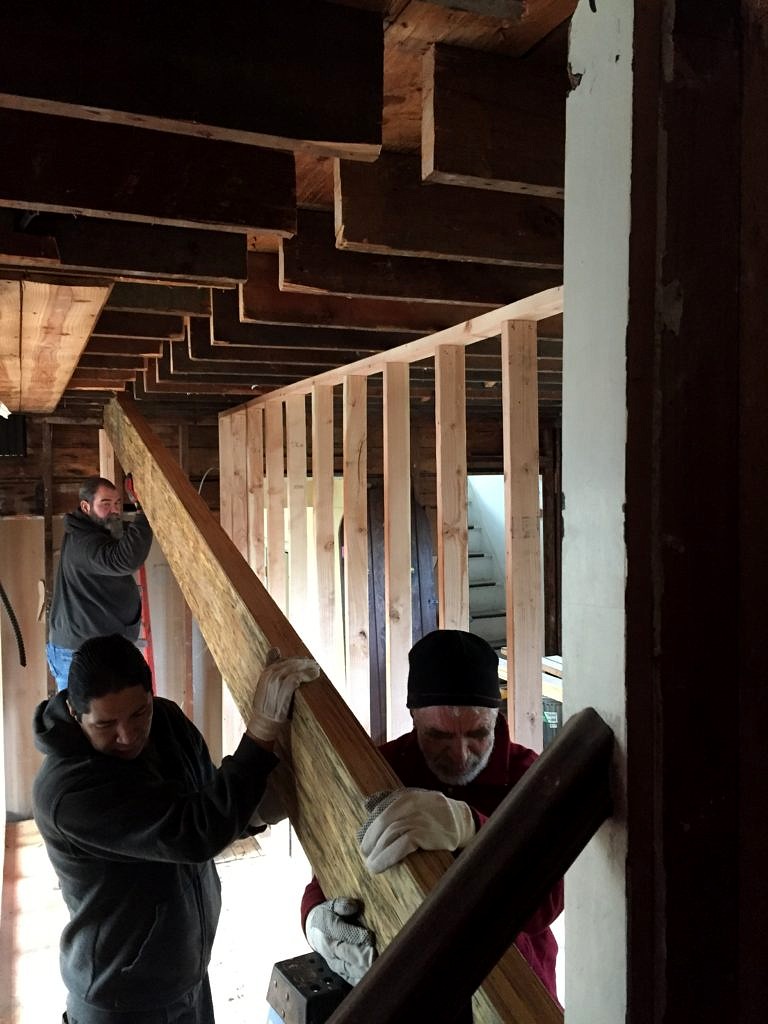 And then you need to round up at least four really strong guys to wrestle the new beam–called a microllam–into place. Voila.
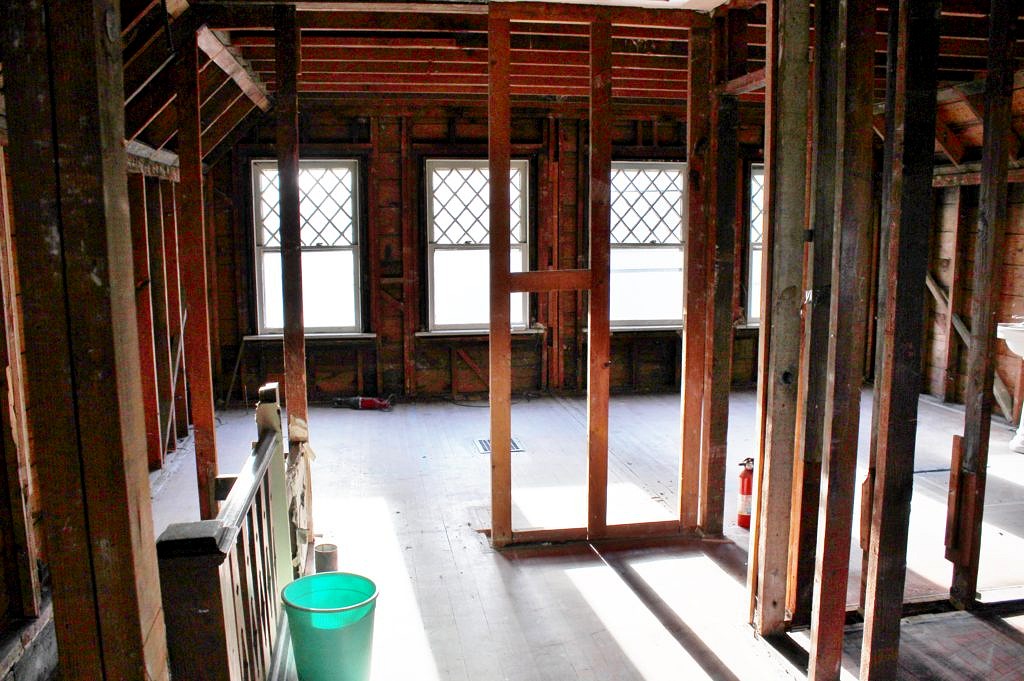
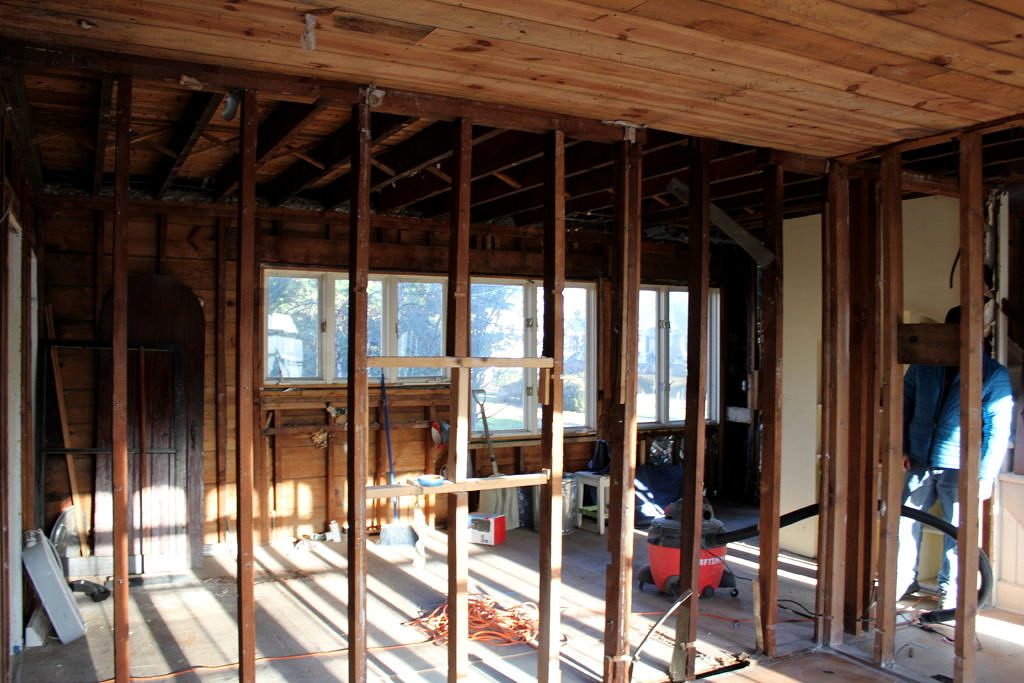
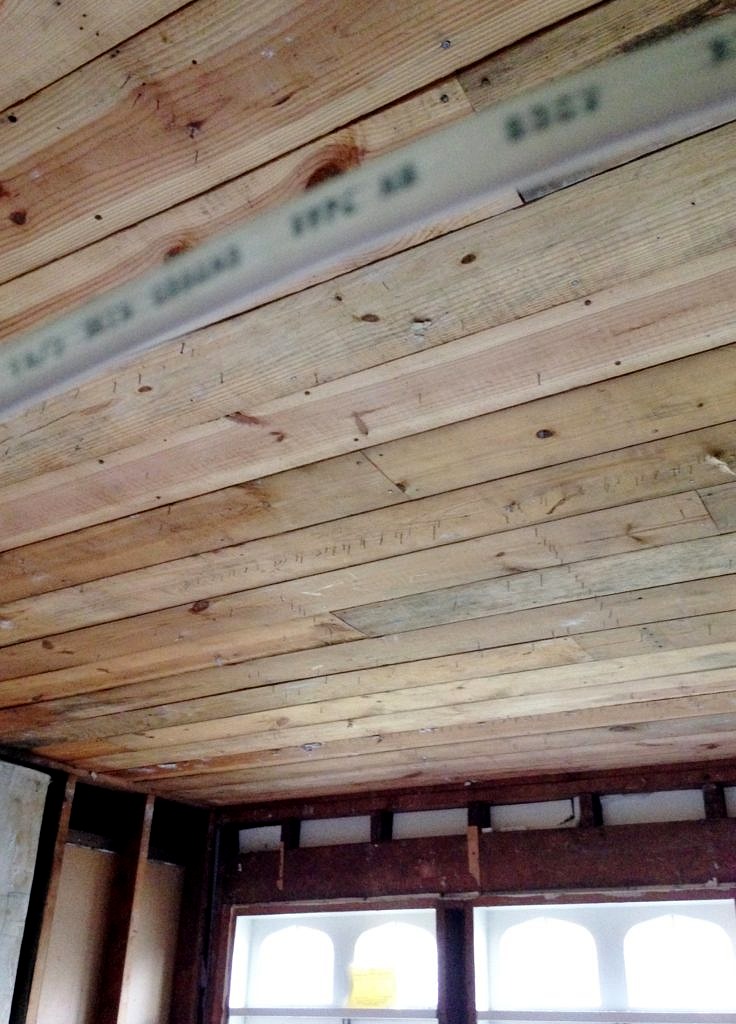
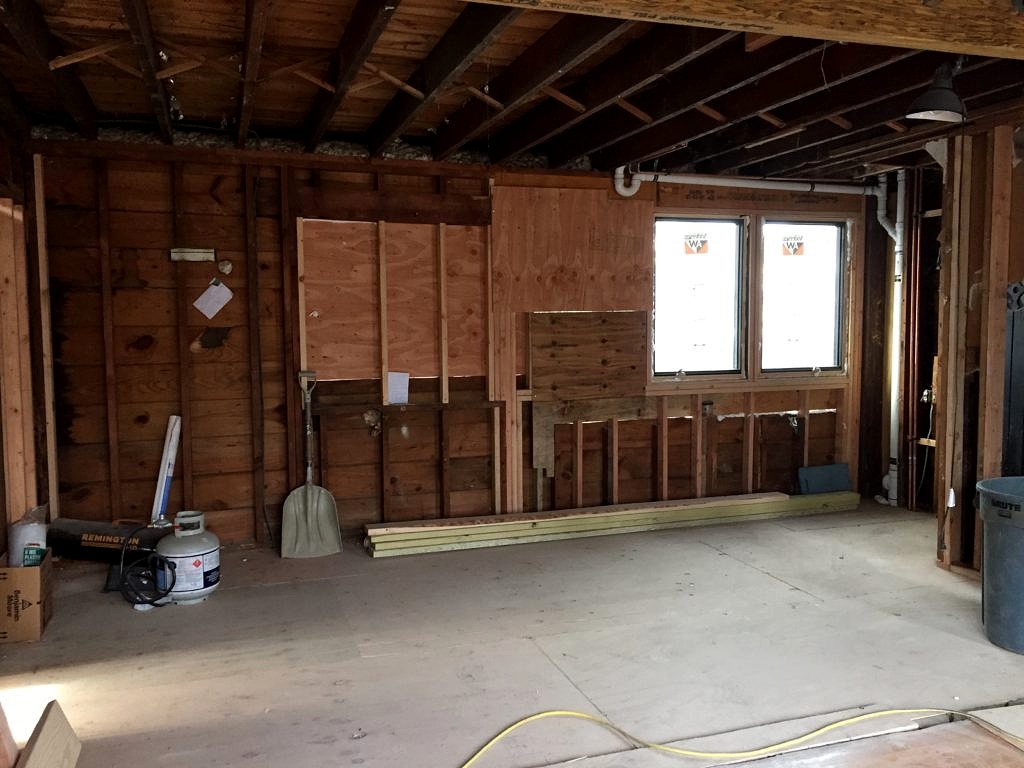 Ironically once we got the new beam in, and replaced the rotten sub flooring in the kitchen so we could set the headers (wooden things that support walls) for the new windows just in time for their delivery date… The truck, delivering the new windows, rear-ended someone en route to our job and one of our kitchen windows got broken–oops–too bad. So not only do we have to wait another month for the replacement window…we will have to pay our guys to come back and do the install. Oy vey already.
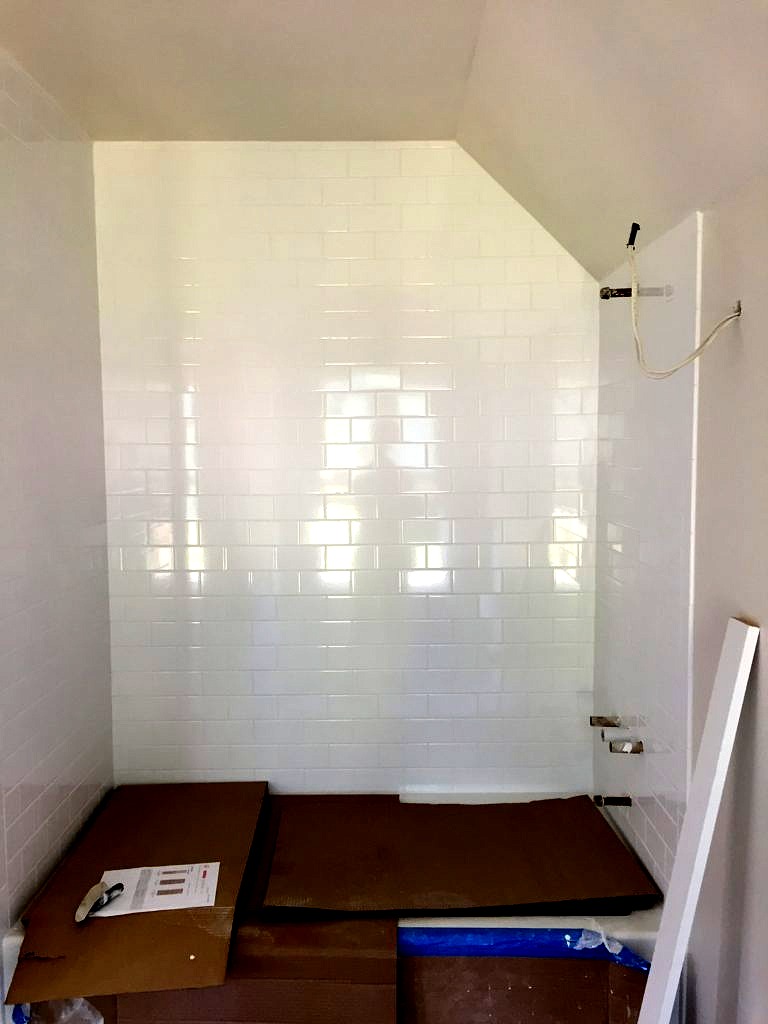
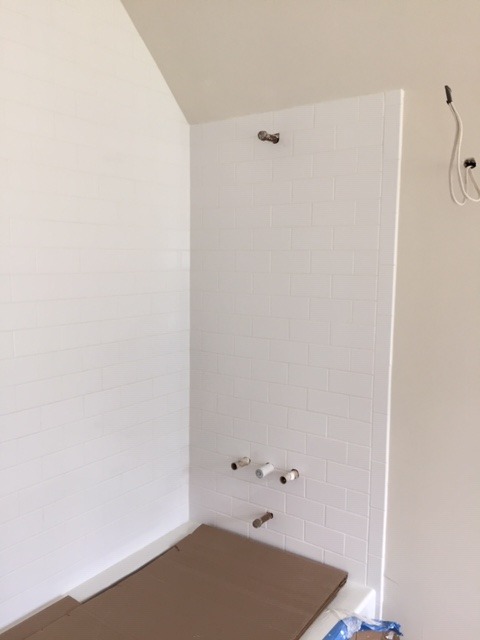
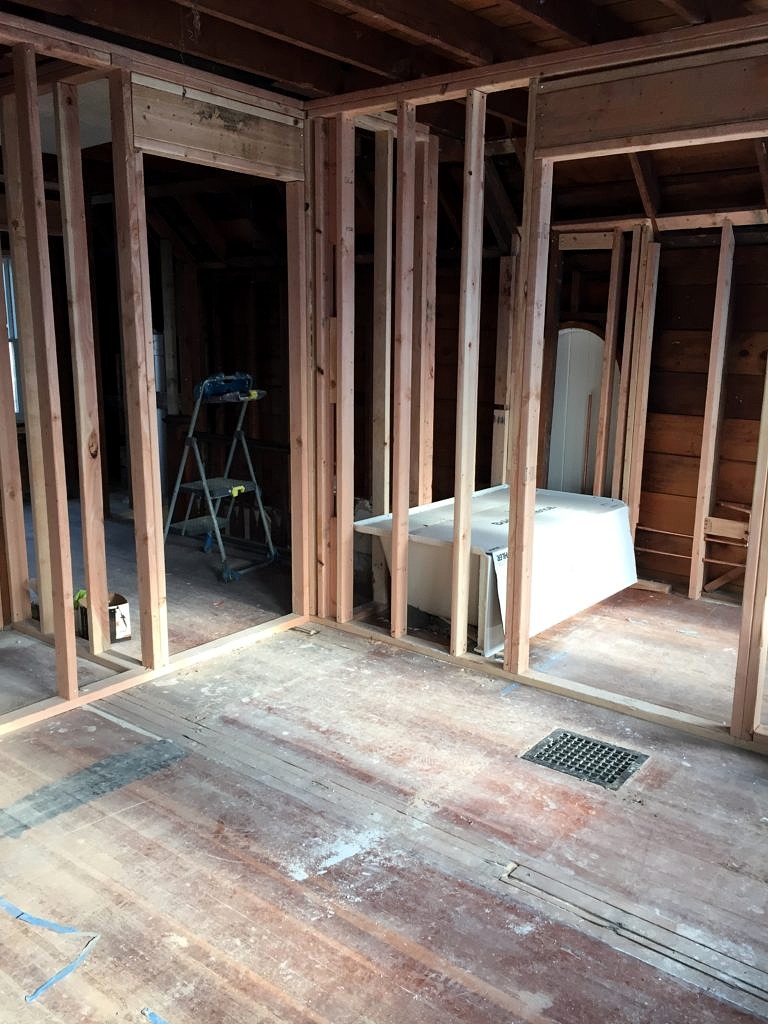 We added a master bath; a bold move seeing as we are now losing access to the balcony overlooking the great room. But I decided, knowing my family, someone would probably end up falling from it at a possibly alcohol fueled moment anyway, so safety and a bathtub trumped moonlight serenades.
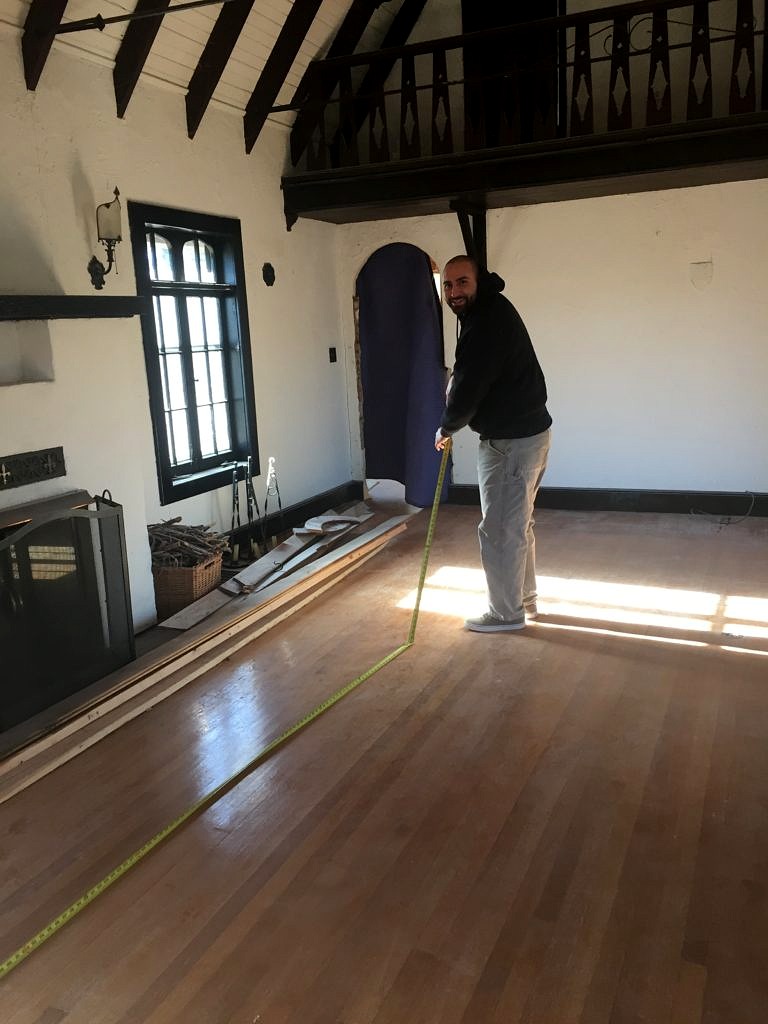 So along with progress comes an appetite. All anyone (in our case usually Keith) cares after working in a freezing cold house all day is a hot meal and a beer. And what goes better with beer then pizza?
 In order to make great homemade pizza, you need the right equipment–not a pizza oven but a good
 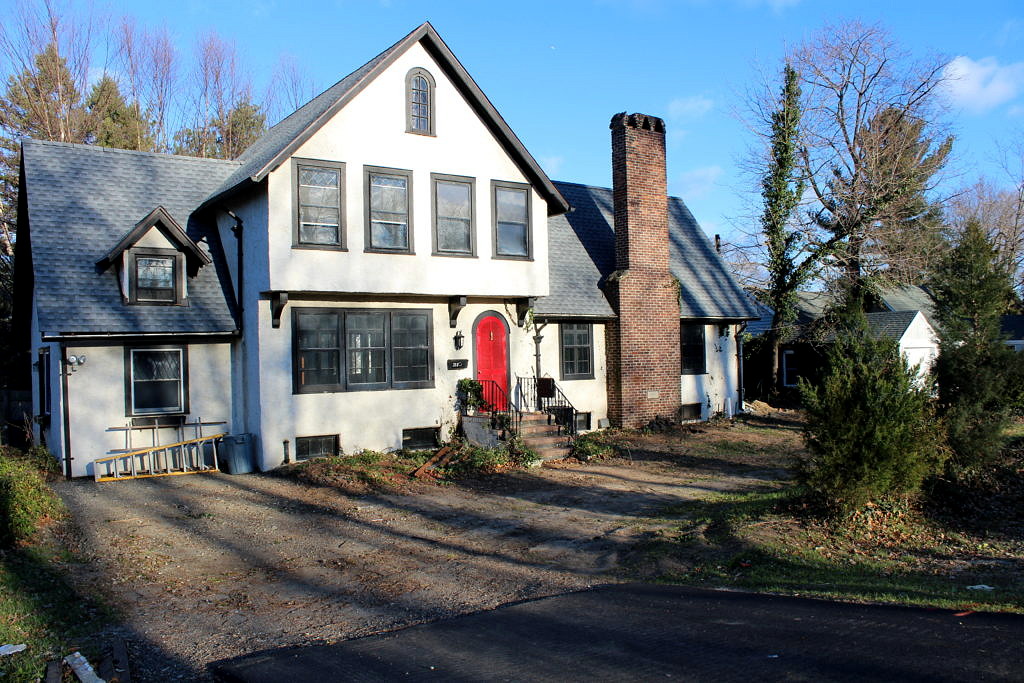 After two months we have accomplished nearly all of what Chip and Joanna Gaines do in the first five minutes of their TV show Fixer Upper. What you don’t see on television but face in a real-life renovation is mountains of paperwork and red tape. Nothing happens in the town of

 As we approach the holidays our neighbors’ homes in the Fair Haven historic district really shine. Meanwhile, at Chez Nelson, the lights are barely on. Just past our first month’s anniversary at 28B Gillespie, an optimist would say wow, we’re nearly there. A pessimist might not.
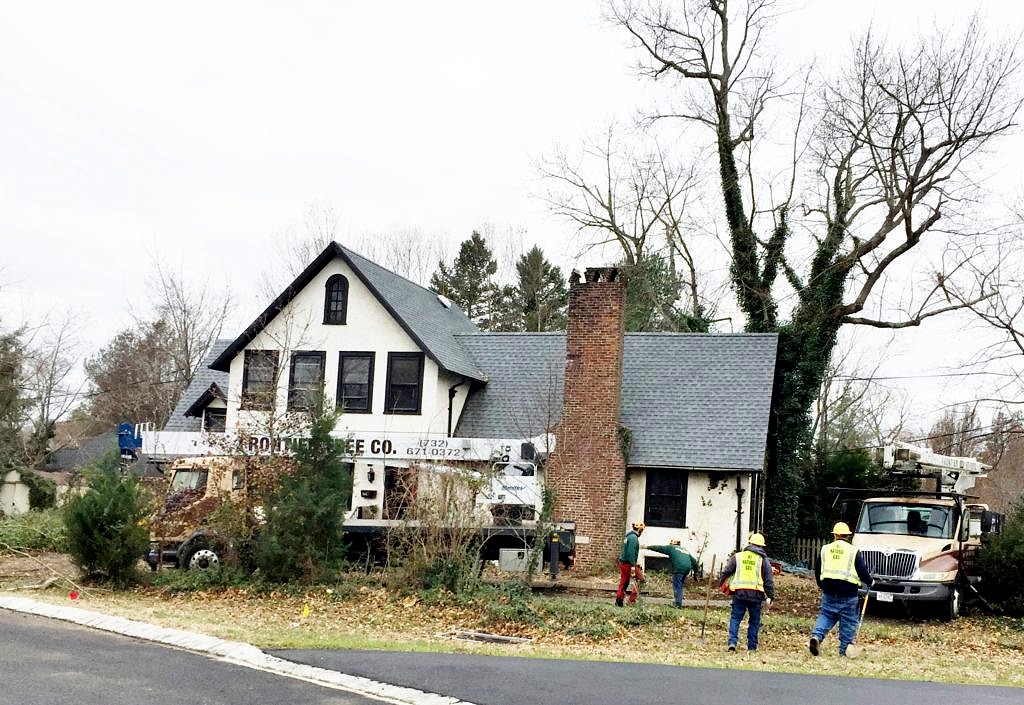
 This is the core plan.
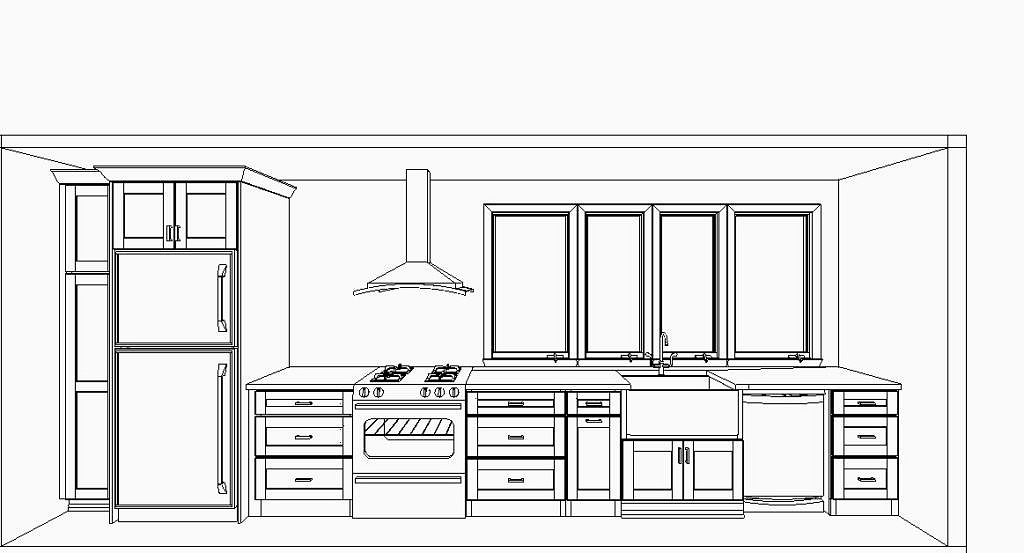
 Sigh.
Sigh.